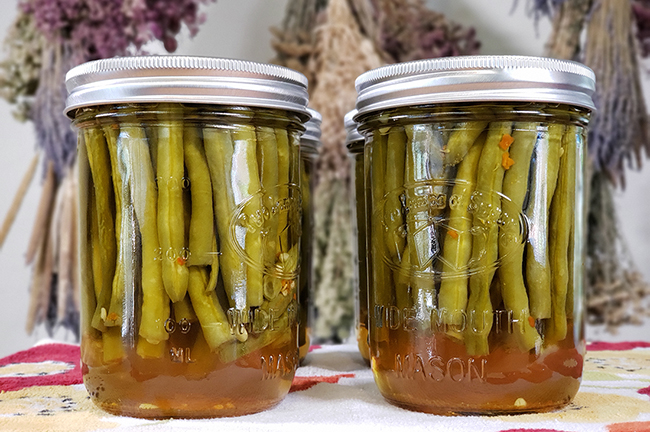
Ingredients
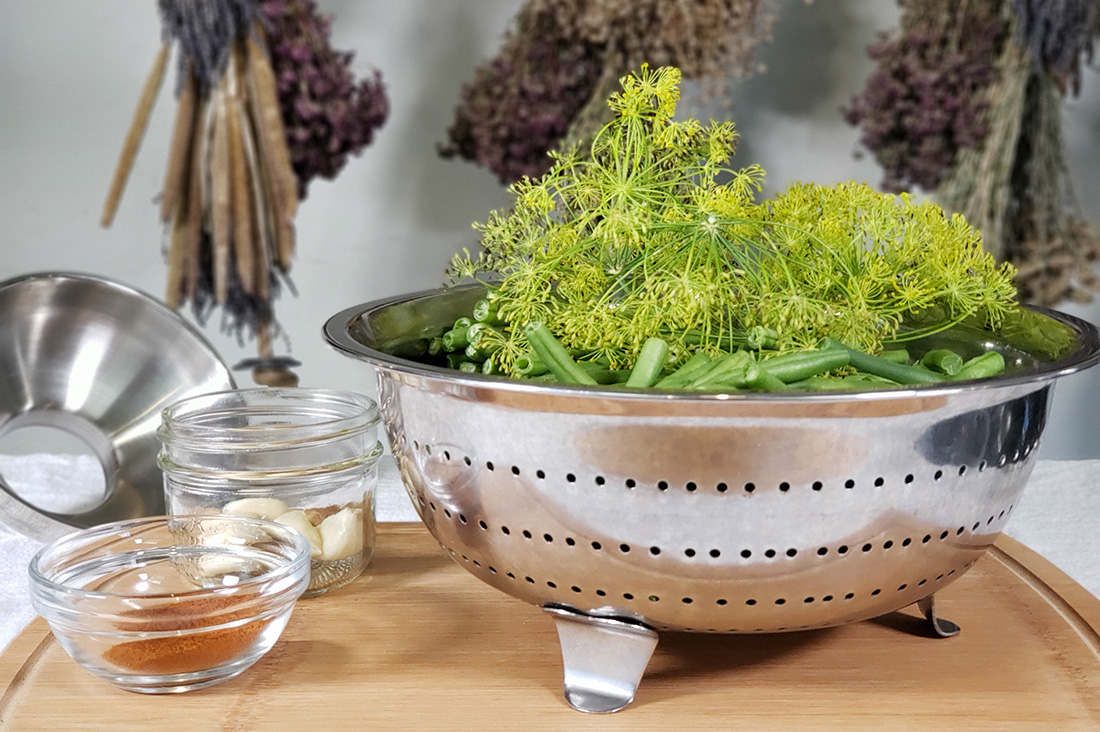
2 lbs fresh green beans, ends trimmed
4 large garlic cloves, peeled
4 large heads of dill
2.5 cups apple cider vinegar (5% acidity)
2.5 cups water
1/4 cup canning salt
cayenne powder
red chili flakes
*optional- jalapeno slices (seeds removed) for an extra kick of heat
Equipment
water bath canner
4 clean pint jars with rings and lids
paper towels, moistened
jar lifter
ladle
bubble remover
labels
Summer is here, and with it comes the ever-coveted canned food that most pickle-loving humans savor right down to the last bean– dilly beans! When pickling green beans, it is wise to make as much as you possibly can as you’ll find yourself running out in a hurry… and these little spicy delights are hard to share when you only have a few priceless jars put up!
Step One:
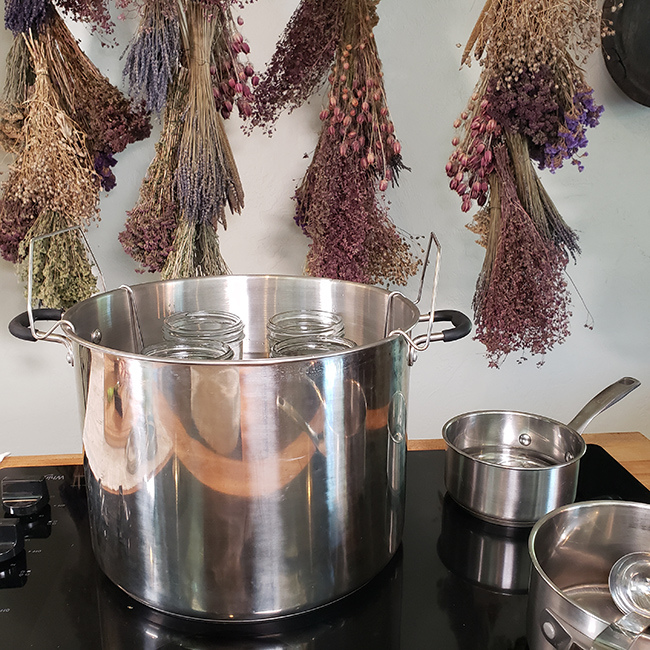
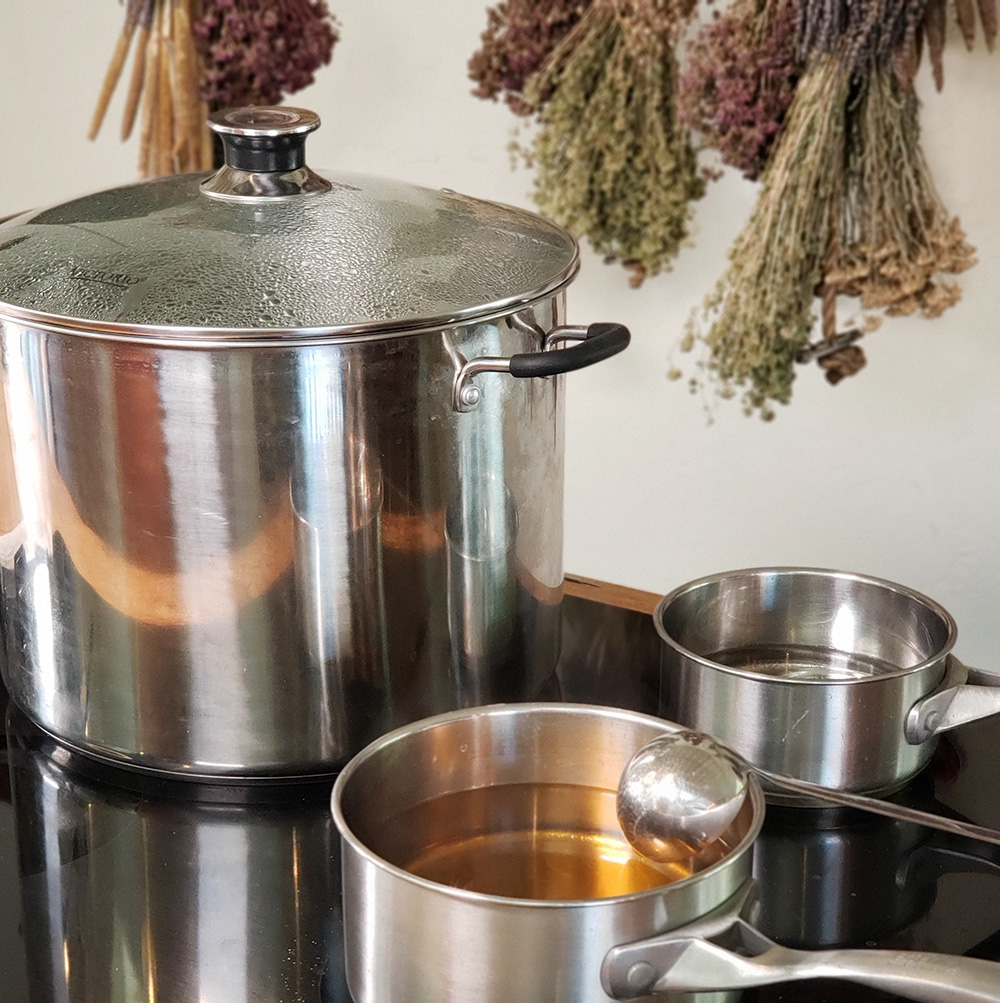
In a large saucepan, combine the vinegar, water and salt together. Bring vinegar mixture to a boil, then turn heat down to a simmer for 10 minutes. Sanitize your jars in the hot water bath canner for 10 minutes at 180 degrees F. Keep your clean lids warm in water, off to the side.
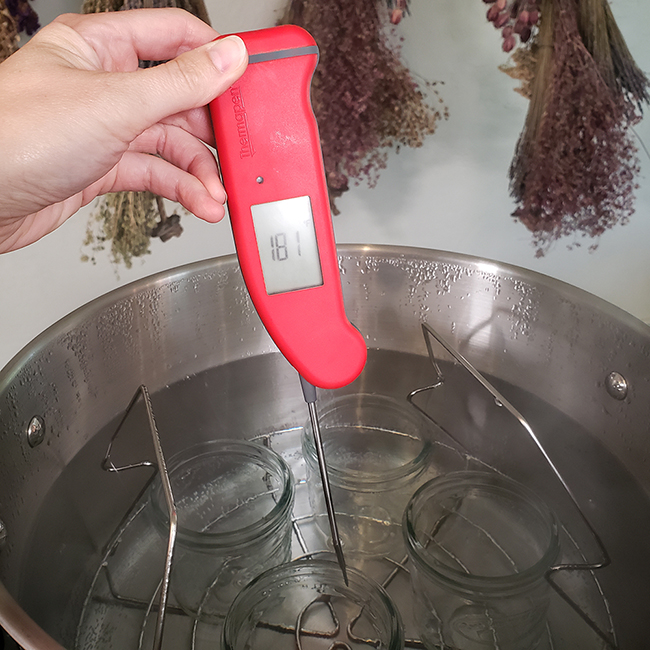
Step Two:
Pack your green beans into hot clean jars lengthwise, filling as much of the empty jar space as possible and making sure you have 1/2 inch of headspace at the top. *Optional: (If you’re putting in a few slices of jalapeno, tilt your jar to the side, laying them on that side, and place beans on top of the slices, then squeeze a few more slices of jalapeno on top of the beans while still holding the tilted jar. This takes a bit of finesse, but it makes it look pretty).
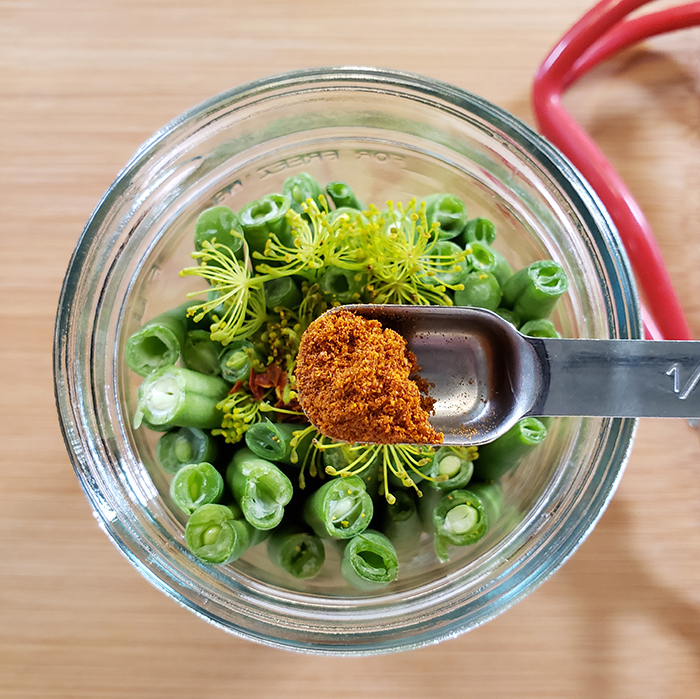
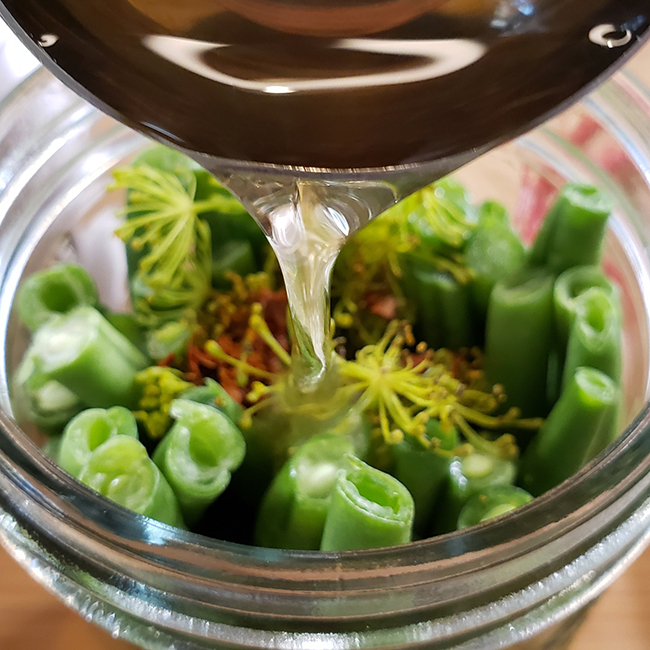
Next, take one of the garlic cloves, place it in the center of one of those beautiful heads of dill and plunge it into the center of your beans using your thumb. Then, take about 1/4 teaspoon of cayenne powder and a goodly amount of red pepper flakes (1/4 – 1/2 teaspoon is optimal) and put them on top of your packed beans. Ladle your properly simmered hot brine over the beans, leaving 1/2 inch of headspace in your jar.
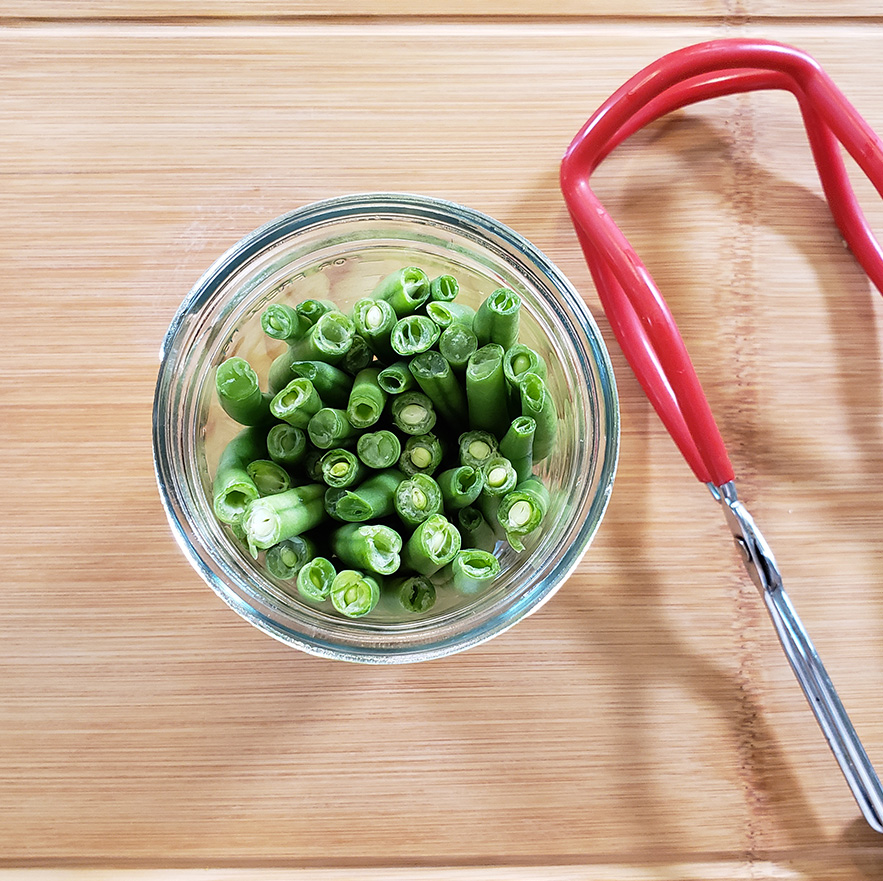
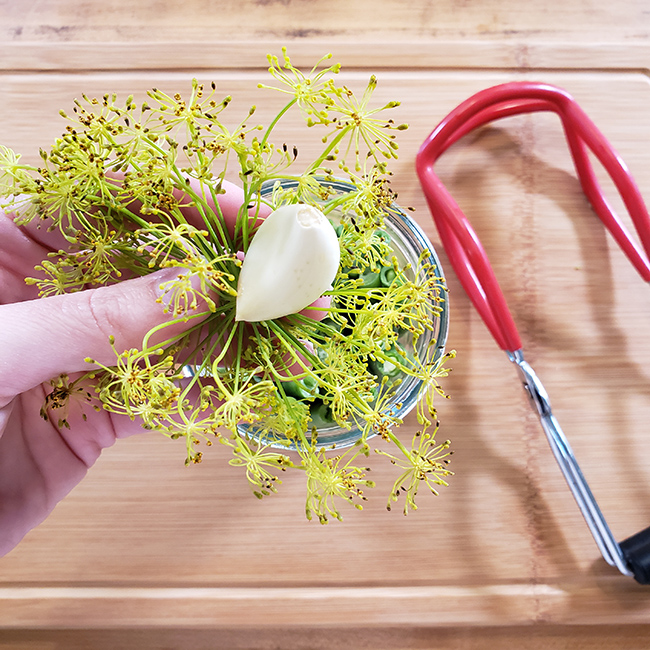
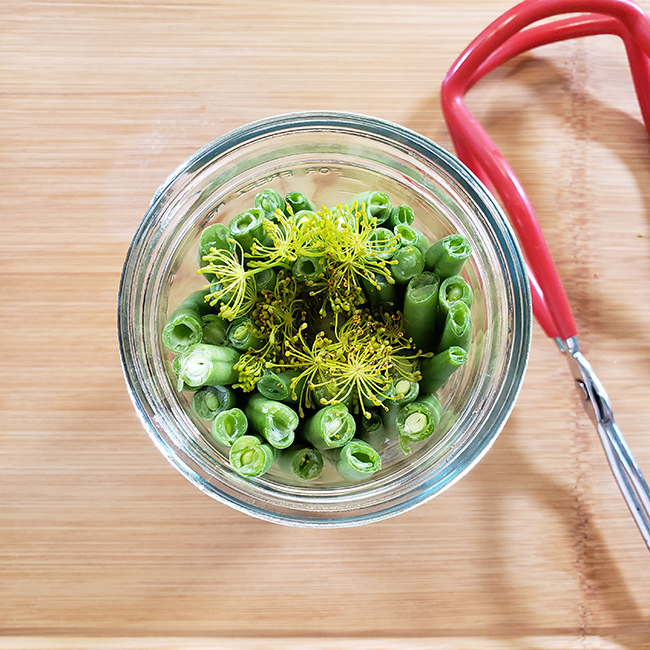
Step Three:
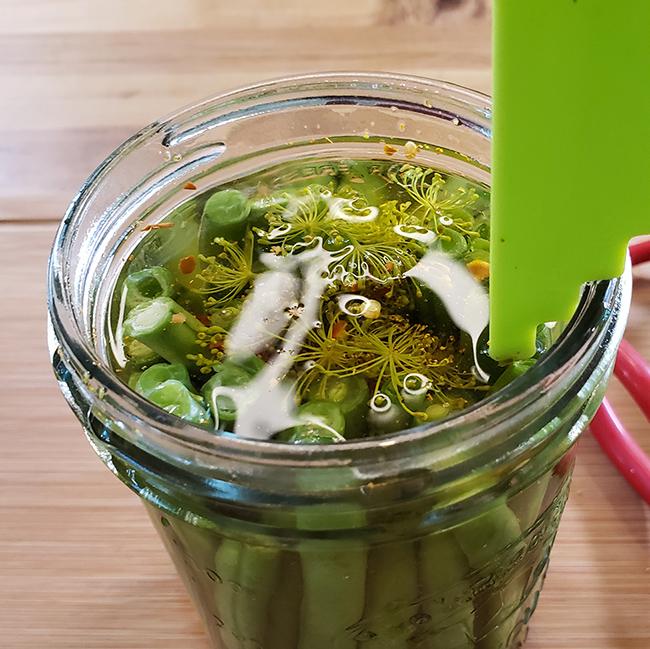
There is usually an obscene amount of air bubbles involved. A clean chopstick works well to release them, wiggling it about in the space between beans and jar. If you’ve packed your jars well, you won’t have the frustrating experience of beans suddenly jumping to the top of the jar. I suggest using the most colorful words in your arsenal to ease the tension you’ll feel in the event that this happens.
Step Four:
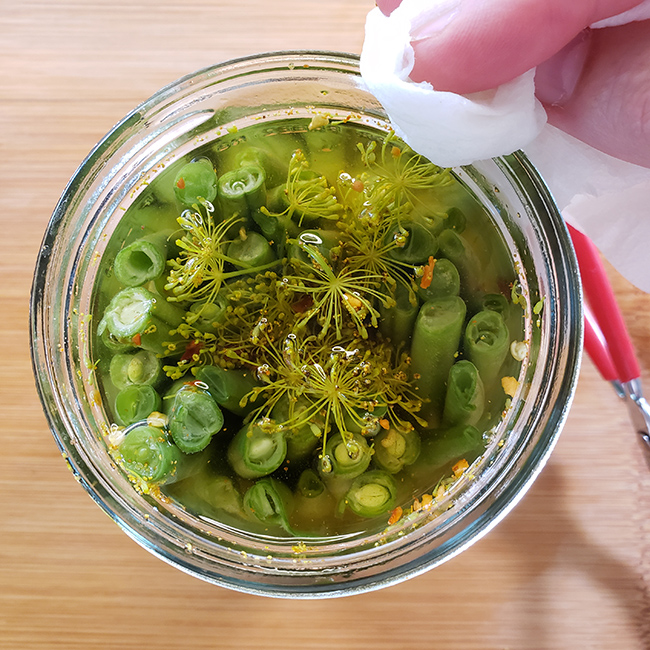
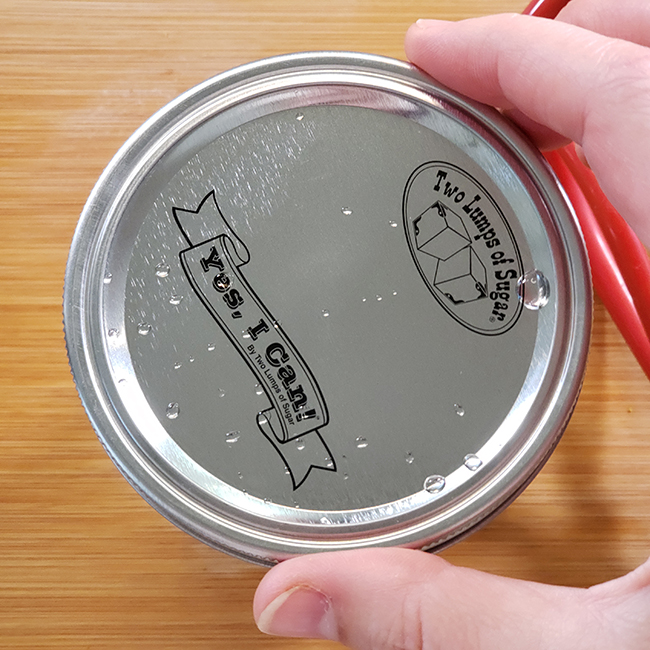
After you’ve removed the air bubbles, take one of your clean, moistened paper towels and wipe any brine or debris off the rims. Using a magnetic lid lifter, grab one of the hot lids and place it on top of the jar. Take a canning ring and center it over the jar and lid then screw it on just fingertip tight. Put the filled jar on the canning rack over your simmering water bath at 180˚F.
Step Five:
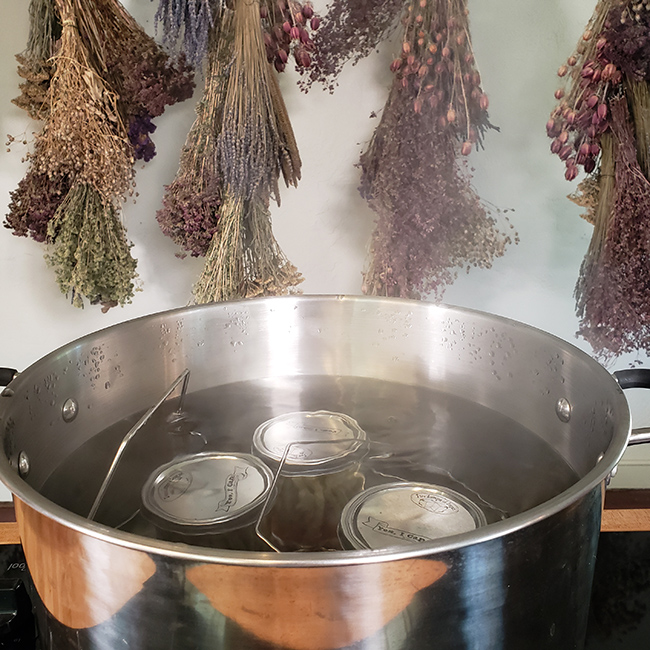
After all jars have been filled, lower them into the bath (make sure there is at least an inch of water over the tops of your jars), put the lid on top of the canner, and turn the heat up to medium high. Process your filled prepared jars for 10 full minutes once the water comes to a rolling boil. Turn the heat off, remove lid from canner, and wait for the bubbling to die down and the bath to cool down a bit, for 5 minutes. Remove your hot jars and carefully place them on a flat surface that has been covered by a clean kitchen towel. Leave them alone. Let them cool overnight, then check the seals in the morning. (press your finger on the center of the lid to feel if it is slightly concave, then take off the ring and lift jar slightly by the edge of the lid. If it holds, it’s good to store). It is okay to store your jars without the bands. It’s also helpful to store jars this way- if you have a seal suddenly fail, it will be noticeable where with a band screwed on it wouldn’t be so obvious.
*Note: Never tighten the bands around the lids as this will compromise the seal, not help it.

Add cute labels of your choice and store in a cool dark area for up to a year. Those beans aren’t going to last that long. For best flavor, don’t open your jars for at least 2 weeks after processing.
If any of your seals happen to fail, simply store them in the fridge and consume at your leisure.
Happy Canning!
Resources: Please remember to reference and follow all proper safety guidelines as noted in the Ball Canning Book. For further questions regarding canning safety and procedure, call this valuable local resource:
OSU Extension Service Food Safety and Preservation Hotline
Call Toll-Free – 1-800-354-7319
9 AM to 4 PM Monday – Friday


