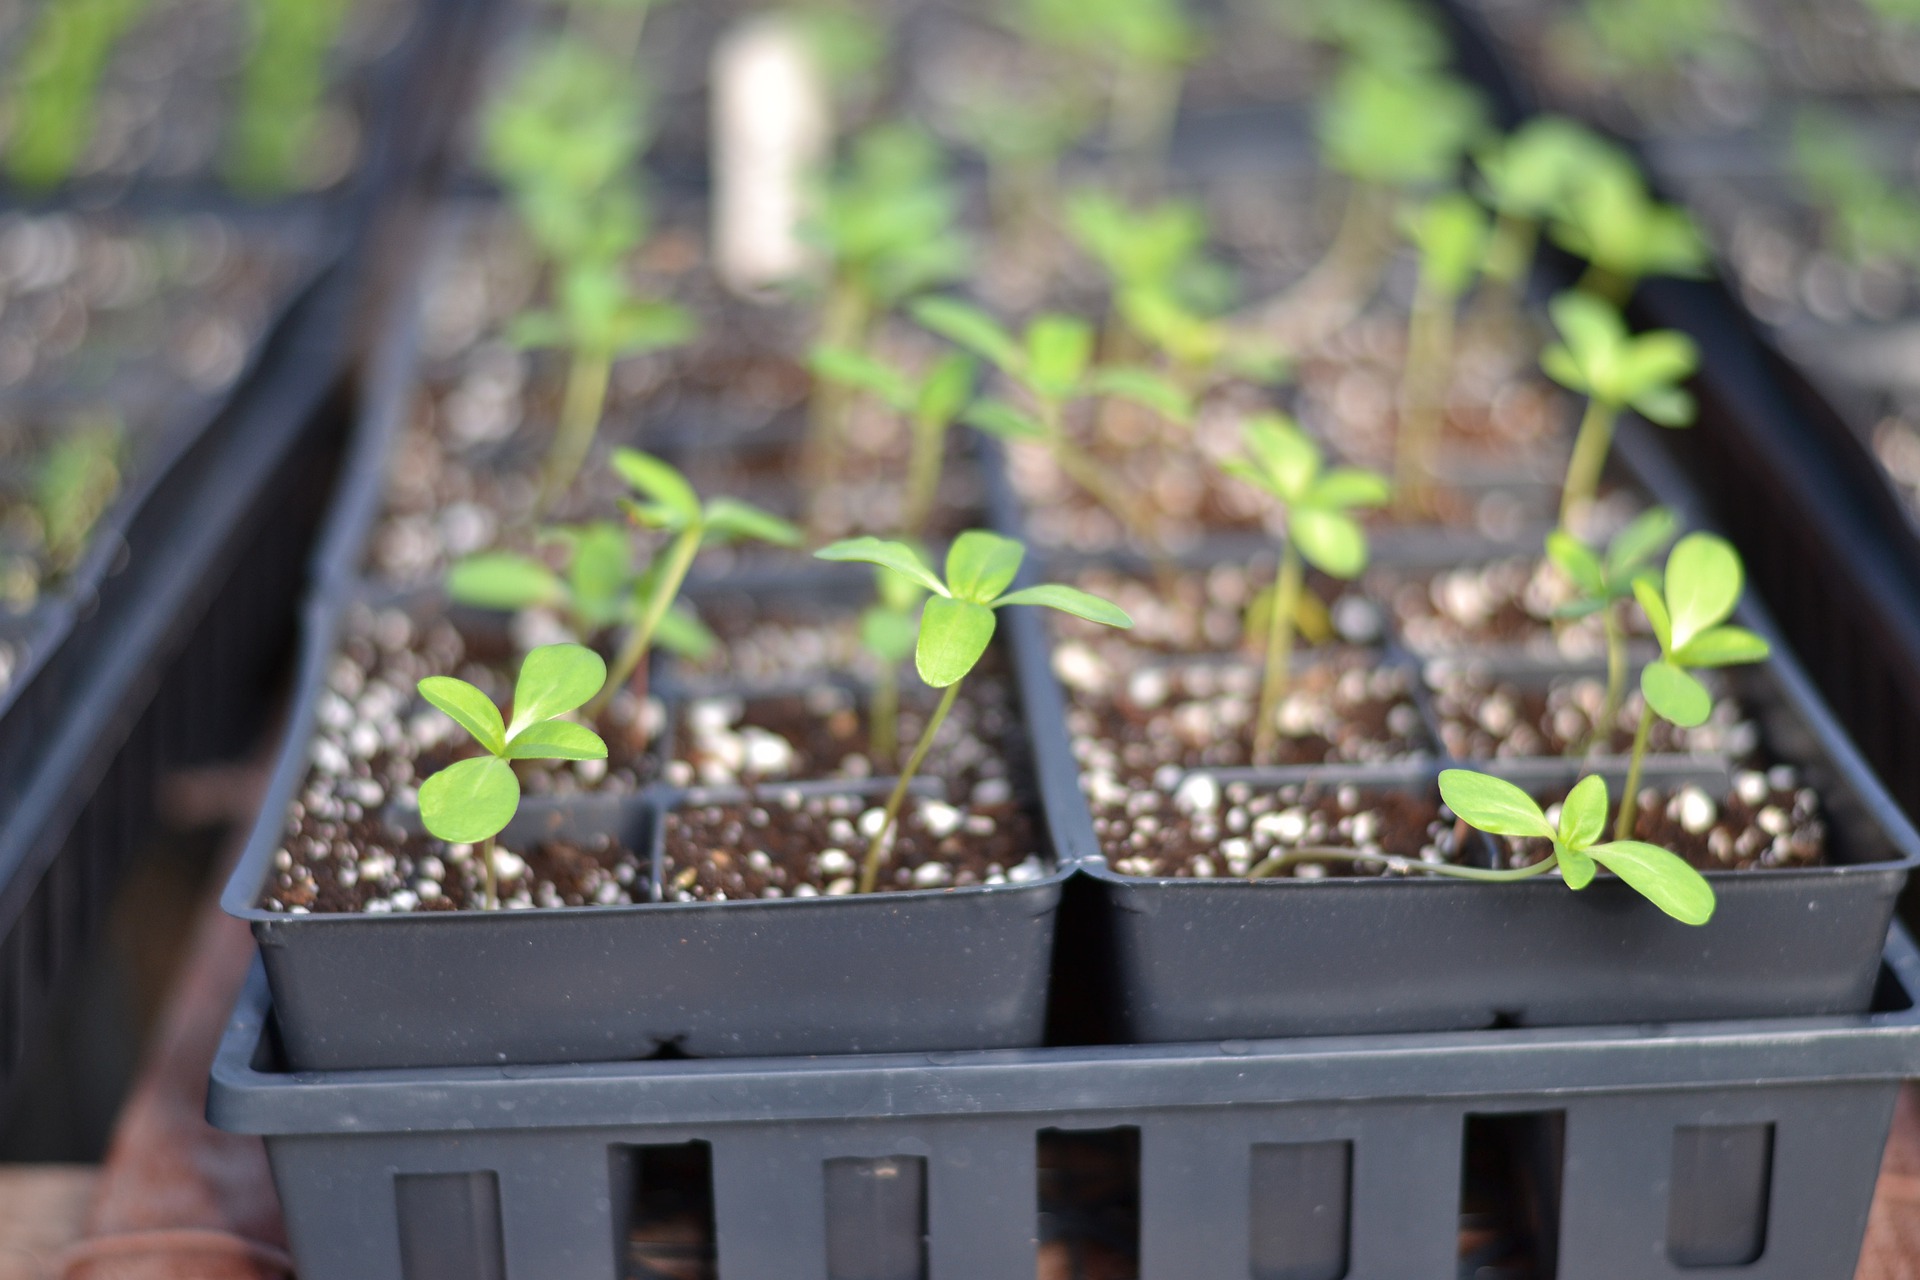
Why start from seed?
Plant starts that are ready to transplant in the garden can be really convenient, with many wonderful varieties available from local nurseries and growers. However, starting from seed is not only cost-effective in the number of plants you can grow, but also your selection of heirlooms and unique varieties can expand exponentially! Planting by seed can get you ahead in the growing season. Rather than waiting for optimum soil temperature outdoors, you can plant ahead and move up your harvest date. Bear in mind there are some seeds that are best directly sown outdoors. Peas are great for planting outdoors starting early spring, and plants like carrots and radishes that do not like to have their roots disrupted do best when planted directly outdoors, as well as beans and corn.
Planning Your Garden
Acquiring a few catalogs from seed companies can give you a great idea of what it is you’d like to grow. Catalogs often have an image of the crop, along with a helpful description of its characteristics, growth habit, and flavor profile. Make a list of the varieties you’d like to grow as you search.
Helpful Items for Starting Seed:
-Trays
-Seed starting cells/clean containers for starting
-Plastic cover with holes for ventilation
-Misting water bottle
-Grow lights or bright location with 6-8 hours of sun
-Labels
-Seedling mix (potting mix can be too dense for rooting to occur)
-Propagation heat mat, good for germination (excellent for peppers, melons, and tomatoes)
-Oscillating fan
We’ve got some seed starting products and kits available online with more available in store.
Planting Your Seeds
Make sure you are using clean, sterile containers to grow in. Most seeds will germinate best at 65-75 degrees, but take a look at the seed packet for specific temperatures. Be sure to follow directions for seed depth. A chopstick is very useful as a planting assistant to both create the hole for your seed, and to gently push the soil back over top. After sowing your seeds, keep them consistently warm and moist. Cover with clear plastic to retain moisture and heat to aid the germination process, but wipe off any excess moisture that accumulates. Check on your seeds every day for sprouting.
When seedlings begin to emerge, remove the plastic covering and move them under grow lights for about 16 hours a day, or to a bright window (note: lettuce and endive need light to germinate.) If you are using grow lights, keep them a few inches above your tallest plant. After germination, an oscillating fan can be used to help strengthen stems and increase the stem girth. Note: use of an oscillating fan will require more regular watering.
Fertilize 4-6 weeks after sowing. Grow lights are a great way to give consistent light. Seedlings that are exposed to too much light can get long spindly stems and cause yellowing of the leaves. Too little light can also cause these issues.
When the second set of leaves, or “true leaves’ emerge, it’s time to very gently transfer them to individual pots filled with potting mix and compost, keeping them out of direct sunlight for a few days. A spoon is a great way to gently scoop up your seedling to transfer, being mindful not to harm the stem or delicate leaves. Water them as needed. Keep moist, but do not overwater. Overwatering is the most common cause of death to plants in containers. Keep your seedlings warm and out of any drafts during this time. To avoid a huge harvest all at one time, make sure to stagger your seed sowing at two to four week intervals. Spacing out your plantings will give you a continual supply of fresh produce throughout the season.
Hardening Off
Hardening off is the process of preparing your little seedlings from their cozy indoor environment to less predictable outdoor conditions. 7-10 days before transplanting, move themoutside to dappled shade where they are shielded by strong winds for a few hours per day. Keep the soil moist during the hardening off period, as exposure to wind and sun can dry out the containers quickly.
Best time to transplant? If possible, plant your starts on an overcast day, or in the early morning when the sun isn’t as intense.
Planting The Transplants
For best results, plant them in loose, well-draining soil so the roots can easily grow and expand into the growing medium. When you dig the hole for your transplant, this is a great time to sprinkle some fertilizer and mycorrizal fungi down in the soil, right where it will reach the roots of the young growing plant. Mycorrhizal Fungi are microscopic soil organisms that are critical for developing expansive root systems, improving nutrient cycling and soil structure, and protecting against a variety of plant stresses including drought and environmental extremes. Place soil around the plant into the hole, and very gently pat around the base of the plant, but not so firm as to compact the soil. Water the transplant in very well after planting. Additionally, you can cover the top of the soil around the plant with a light layer of mulch to help retain moisture.

