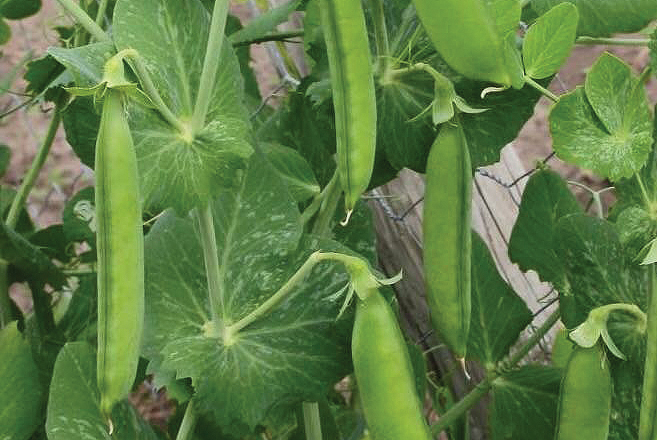
What do peas need to grow?
Peas want an area with access to full sun, and need good well-draining soil. Peas thrive in cooler weather, making early spring and late fall the perfect time for planting. Peas have a vining habit so they’ll need support to grow onto. They like to be densely planted and not thinned after seeding.
Peas don’t really need much in the way of nitrogen, so you won’t need to worry too much about a nitrogen source. Too much nitrogen will make the plant use more energy getting big, green, and leafy- and less energy making fruit. A phosphorus source is best to add to your soil before planting such as Bone Meal 3-15-0 or Fish Bone Meal 4-12-0. That being said, a balanced fertilizer with some nitrogen like our Rose & Flower Mix 4-8-4 would do just fine.
Sowing:
Peas do best directly sowed into the ground. You could start pea seeds indoors, but their root systems are shallow and tender and it can be a shock to the plant to disturb them by replanting. Optimal germination is about 60 degrees, but if you don’t mind waiting for up to a month for your seeds to germinate, you can plant with soil temps as low as 40 degrees. If the soil temperature is cooler than this, wait a bit longer before planting. Some folks traditionally like to plant their peas on St. Patrick’s Day. Whether you are waiting on a certain date or soil temperature, the key is getting them growing in the spring so they’ll mature while the weather is still cool. You can also plant another crop of peas in late summer/early fall!
Preparing to Plant:
Peas love a spot where they can get lots of sunlight and good, well-draining soil. If your soil is more compact, you can break it up and add some compost or other organic matter prior to planting to promote better drainage. You can add a little phosphorus to your soil before planting- we recommend a natural fertilizer like our Fish Bone Meal 4-12-0 for good results. You could also use regular Bone Meal 3-15-0, or our Rose & Flower 4-8-4 mix. You don’t need to worry too much about a nitrogen source, as peas will fix their own nitrogen when you add garden inoculant at planting time.
You will also want to set up a support/trellising system beforehand for them to grow on. They are a vining plant and will need support as they grow and start fruiting. Tomato cages actually work pretty well for this if you already have some on hand, a fencing structure already in place, or you can construct something using garden twine. Really you just want anything that can support their vertical growth.
Garden inoculant:
Peas grow best and thrive when planted with garden inoculant. What is it, exactly, and why should you use it? Garden inoculant has a nitrogen-fixing soil bacteria called Rhizobium. Rhizobia need a plant host to fix nitrogen. To do this, it attaches to the nodules of legumes. The bacteria and peas have a symbiotic relationship. The bacteria is able to gather nitrogen from the air and feed it to the legume which then converts it into nitrogen that can be released into the soil. This benefits the growth of your peas (and other legumes), in addition to adding nitrogen to the soil that could benefit other crops after the peas have been harvested!
The bacteria can exist in the soil- usually if there has already been legumes grown there. However, it is still beneficial to add to your soil. If you haven’t grown legume crops in your garden yet, it’s crucial for setting them up for success.

