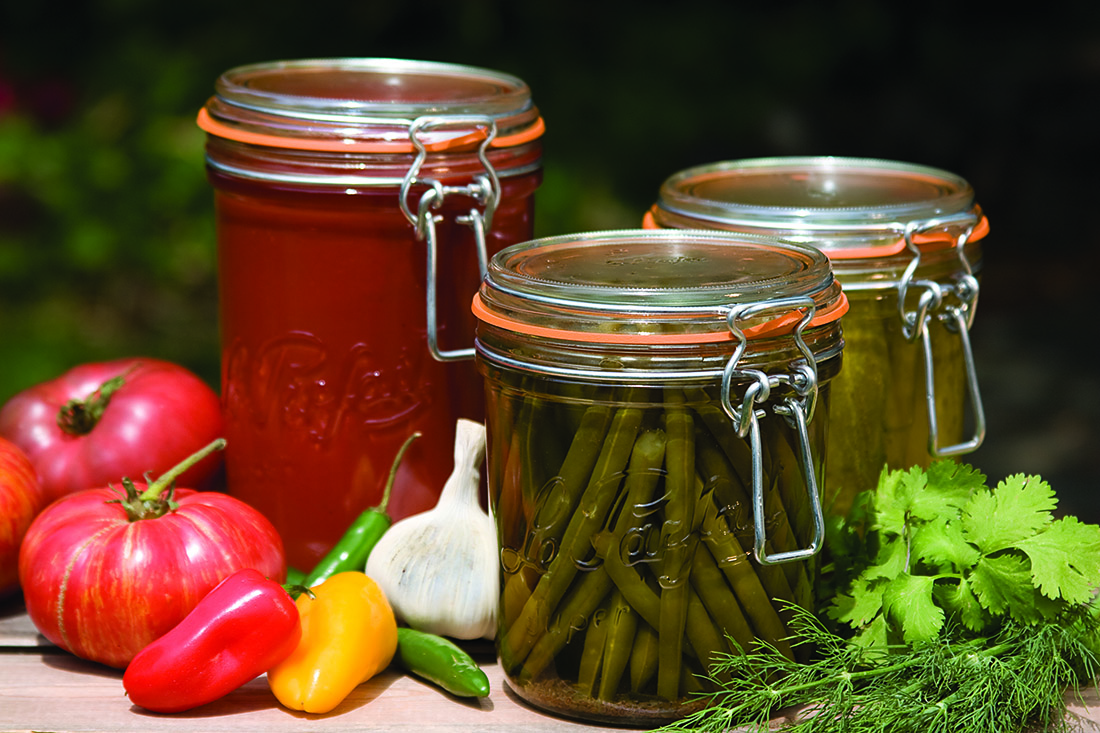
The canning food preservation method is great practice at self-reliance and an excellent way to put up your excess bounty for later enjoyment.
There are two types of canning methods that we will briefly cover, each with a specific purpose:
Water bath canning is the most commonly used method of canning, and is perfect for those just starting to learn about food preservation. With this method, you can do high acid foods which include jams, jellies, pickles, sauces, and salsa. To kill the bacteria that can cause the food to spoil, water bath canning is done at the boiling point of water, or 212˚ F. Always be sure to process your food at the proper length of time according to your recipe.
Pressure canning is the second method and is different from water bath canning. To kill the bacteria that can cause botulism, you must utilize the high pressure from the steam in the pressure canner to bring the temperature up to 240˚ F. Foods commonly canned by the pressure canner method are low acid foods such as vegetables, meats, and stews. Always be sure to follow the exact instructions when using your pressure canner.
For Supplies You’ll Need:
If you have a well-stocked kitchen, you may already have some of the basic supplies that you’ll need to get started. Being prepared and having all your ingredients and supplies cleaned and set up can eliminate stress in the middle of the process.
1. You’ll need a good-sized stockpot with a lid for processing. Typically, a 21.5 quart is the most common size for canning. Enameled stockpots are a relatively inexpensive option. However, you can use any stockpot in your home for making small batches, as long as you have 1-2” of water covering the tops of your canning jars during processing.
2. If pressure canning, the All American Pressure Canner is a somewhat costly investment, but is a well recommended, high quality, reliable pressure canner that requires no gaskets, but rather a metal on metal seal. The dial gauge must be tested once a year for accuracy. In order to kill the bacteria that can emit toxins in your food, ensure that you are maintaining the proper temperature while using the dial gauge in tandem with the pressure regulator weight when processing.
*Please note: Pressure canning is not recommended for a glass stovetop, as you run the risk of the weight damaging or cracking the surface*
3. You’ll need clean, undamaged canning jars with new lids (Ball and Kerr brands are readily available at most retailers), and undamaged metal canning rings. Jars range in size from 4oz – 1/2 gallon, depending on what you’ll need for your recipe or preference. If you’re looking for a reusable canning lid rather than throwing them away each time, there is a brand called Tattler that has reusable BPA-free plastic lids with reusable gaskets.
4. A canning rack is necessary to keep the jars from touching the bottom of the pot, and to help keep them all in place.
5. A lid and jar lifter are an absolute must. The lid lifter is magnetic, so you can easily pick up your lids one by one to place on your hot filled jars. The jar lifter allows for steady transport, to keep your jars as level as possible, and to keep your hand away from the hot water.
6. A canning funnel and canning ladle are incredibly useful. You can choose either inexpensive plastic or durable stainless steel.
7. A thin plastic or silicone spatula/scraper is a great tool for removing air bubbles in your jars before processing. Excess air can cause many problems, one of which is seal failure.
8. You’ll need a good canning thermometer that fits in your pot to make sure that you are getting up to the correct temperature for sanitizing your jars, as well as a reliable timer.
9. There are many excellent cookbooks available with unique newer recipes, or variations on the classics: The Canning Kitchen: 101 Simple Small Batch Recipes, and Put em’ Up! are just a few great cookbooks to get some preserving inspiration. The Ball Book is also a fantastic comprehensive tool, complete with easy-to-read instructions on the whole canning process, with traditional and updated recipes.
10. TIME! Small batch canning can be done in the evening after work, but sometimes having a day or weekend set aside is very helpful, as preparing food, setting up equipment, processing/cooling time, and cleanup can eat up a good chunk of the day. It is nice to feel relaxed and not rushed while preserving.
Tip: Label your work appropriately. This can be done with decorative labels that are either store-bought or homemade. It can also be a simple sharpie on the lid, noting the date and what’s inside. A canning journal is very useful in keeping track of successes and failures, or knowing if you made too much or too little for the year. It’s also great for your own personal recipe adjustments to suit your tastes.
It is recommended in all the canning lore available that you consume your tasty creations within a year of canning, and refrigerate and eat them within a week of opening. The same practice goes for anything you freeze. Bear in mind the longer the jars sit past one year you will risk the seal degrading, creating a potentially unsafe and hazardous eating experience, as well as compromising the taste and nutrition of your food.
All that being said, enjoy this year’s harvest, and whether or not you have done it before, have fun preserving and enjoy the fruit(s) of your labor!

