Ingredients
pickling cucumbers
8 – 12 garlic cloves
4 jalapeños for heat
a gigantic handful of fresh dill
bay leaves
grape leaves
gallon of water
1/2 cup salt
small handful of peppercorns
Equipment
large pot
stove top
jars and lids
assorted measuring spoons and cups
Le Parfait Screw-Top Jars
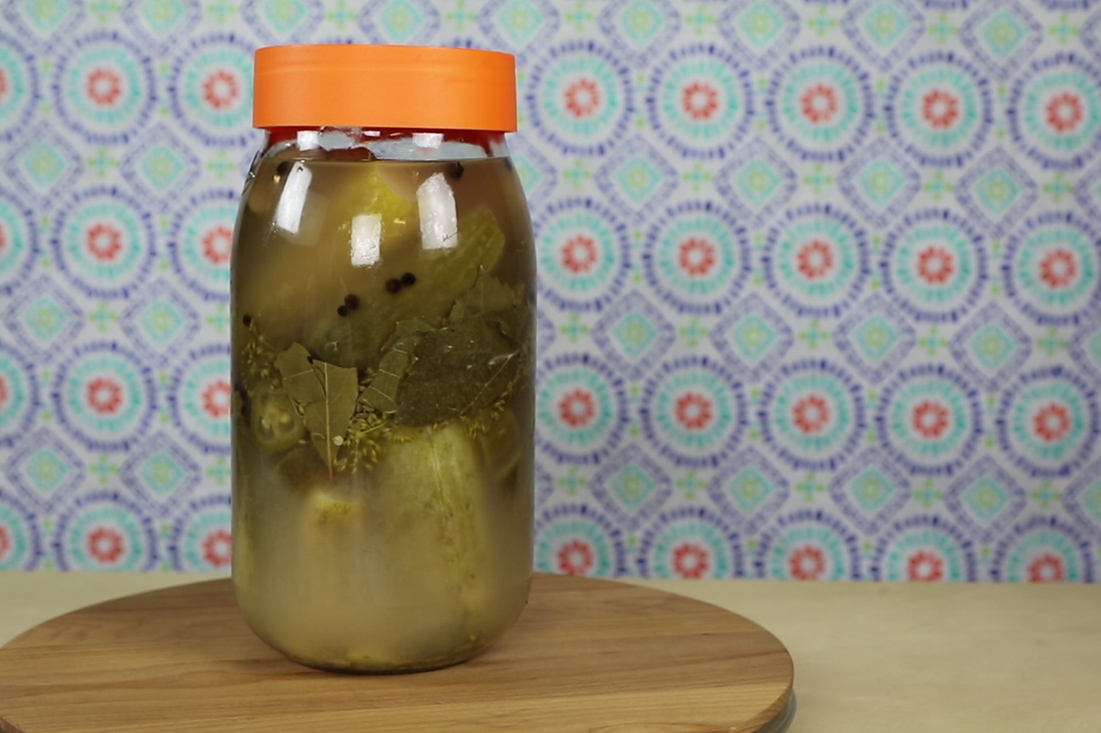
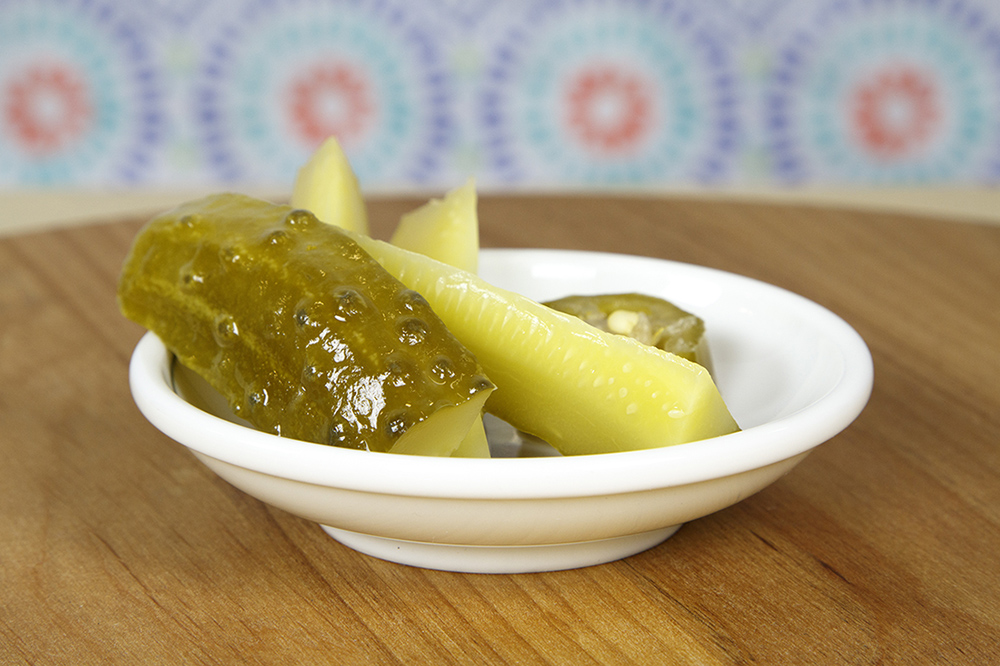
We are crazy about pickles, especially when they’re fermented. They’re crisp, bright and flavorful. Nothing says summer like pickles, and everyone has their favorite recipe. Some are sweet, some are spicy, but nothing goes better as an ingredient or a decoration quite like a pickle.
This easy to make recipe is adapted from a pickle-loving former employee and fermenting hobbyist and is great for the entry-level preserver. It has the hint of dill and a burst of heat along with the tang of fermentation, flavors that are sure to be a hit. With most of the work in chopping the ingredients and filling the jars, the hardest part of making pickles is waiting the three days.
Step One. Begin the brine
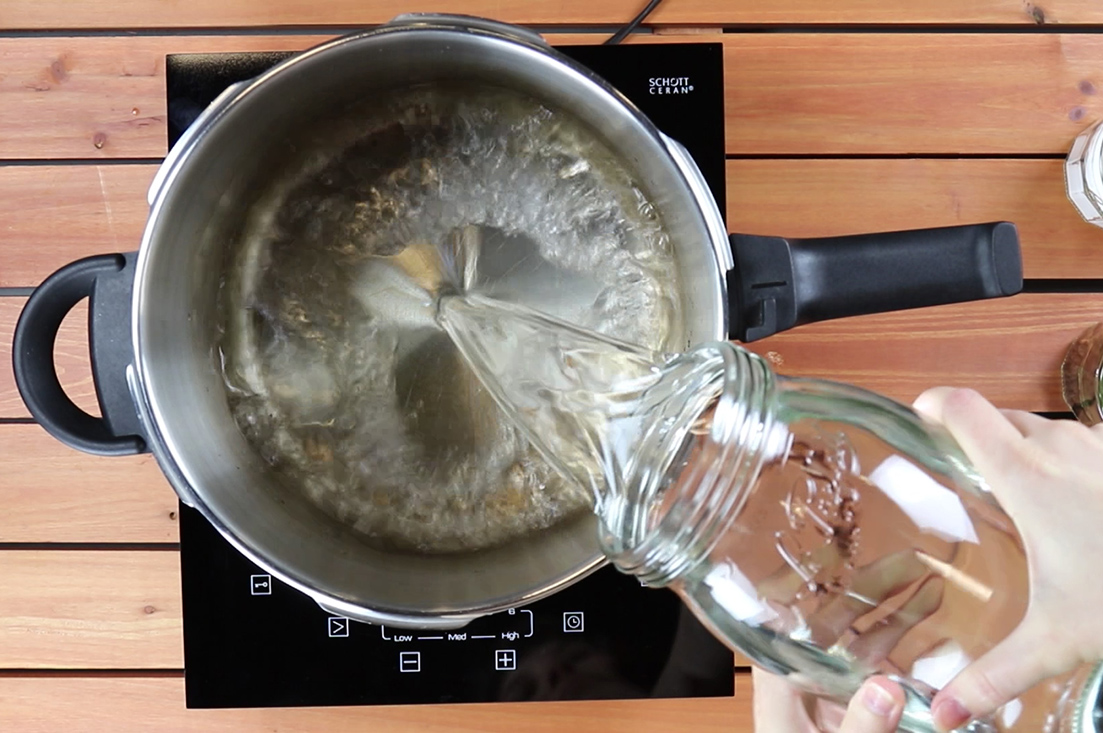
Add one gallon of water to a large pot over high heat.
Step Two. Flavor the brine
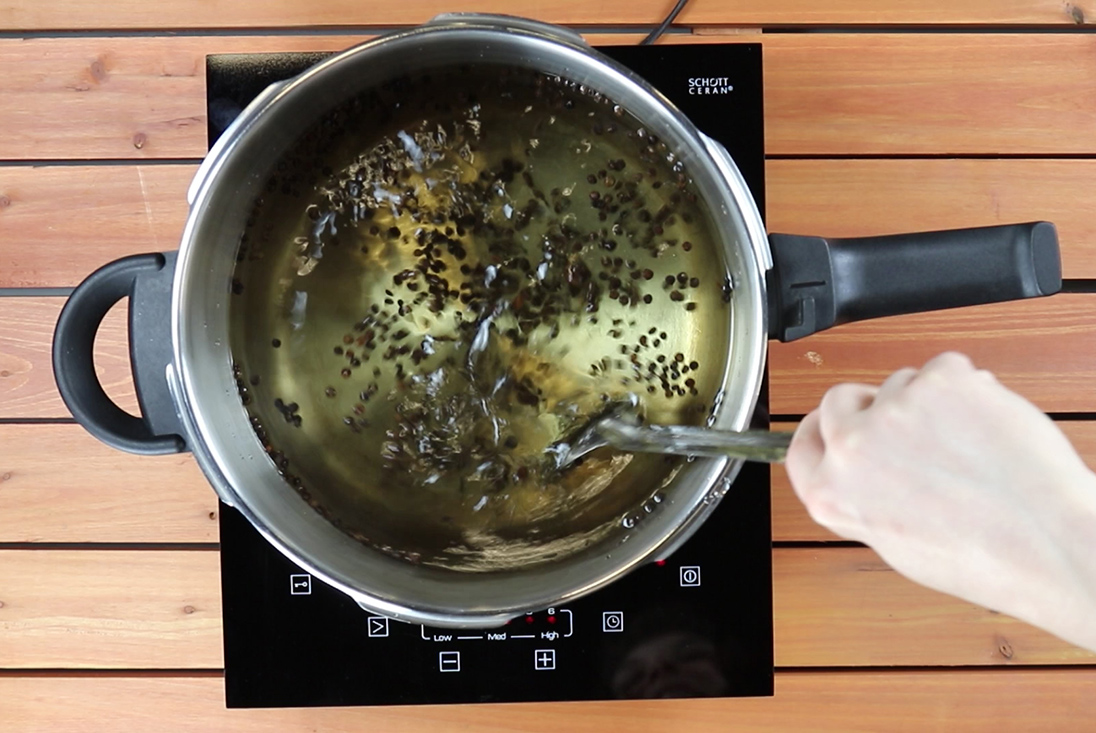
Add salt and peppercorns to the water. Bring to a boil. Stir. Once the salt is fully dissolved, remove the brine from the heat and allow to cool.
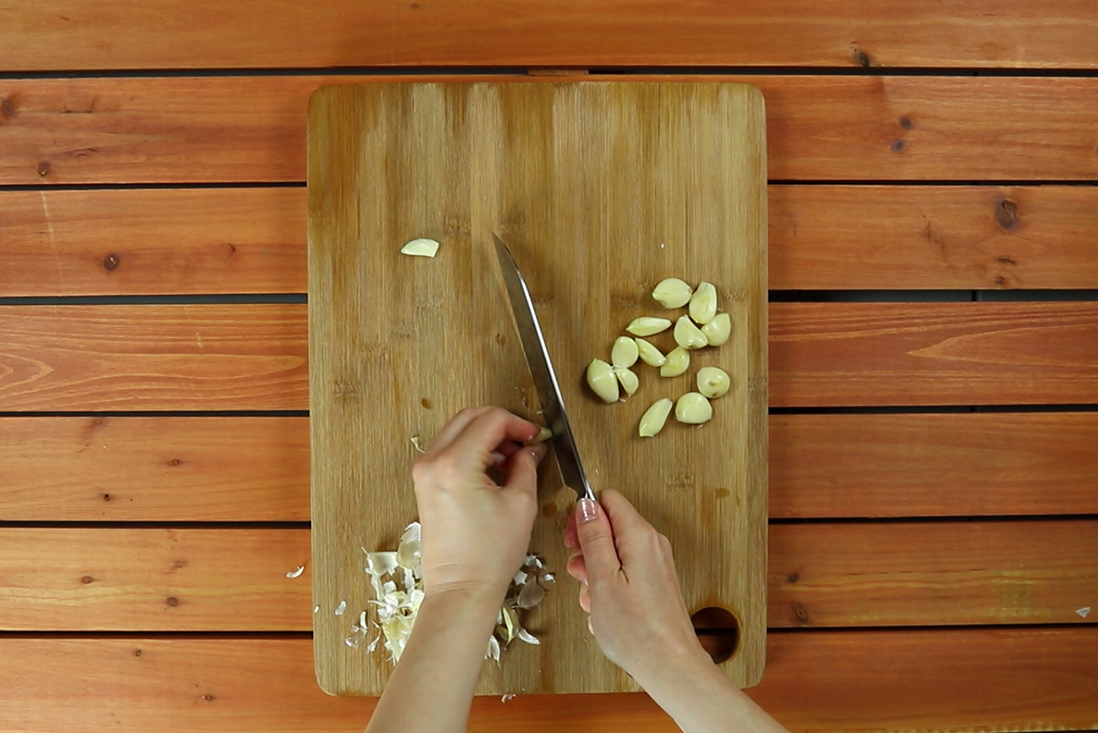
Step Three. Prepare the garlic.
Peel and remove the ends off the garlic. Be careful not to crush the garlic cloves, as you want it intact during the pickling process.
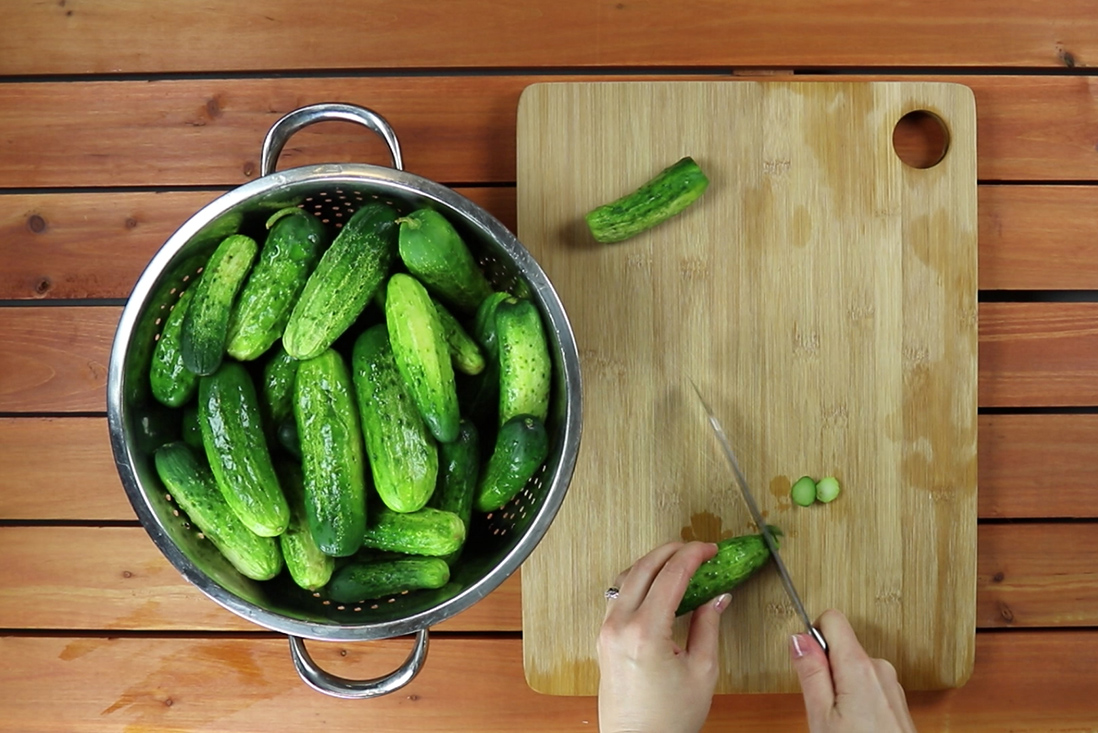
Step Four. Prepare the cucumbers
Trim the ends off of the cucumbers (especially blossom end) to keep pickles from getting soggy.
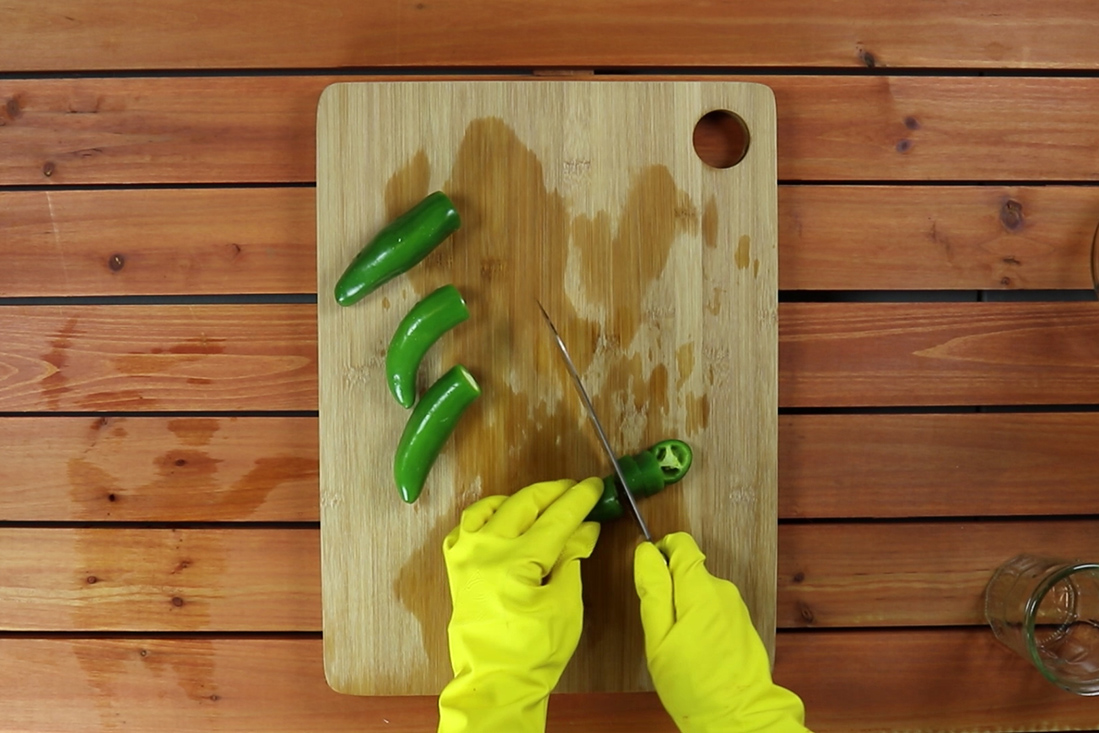
Step Five. Prepare the jalapeños
Remove the ends from the jalapeños and chop into large chunks. Please be careful handling jalapeños, as they may burn skin and eyes. That’s why we always use gloves when handling spicy food.
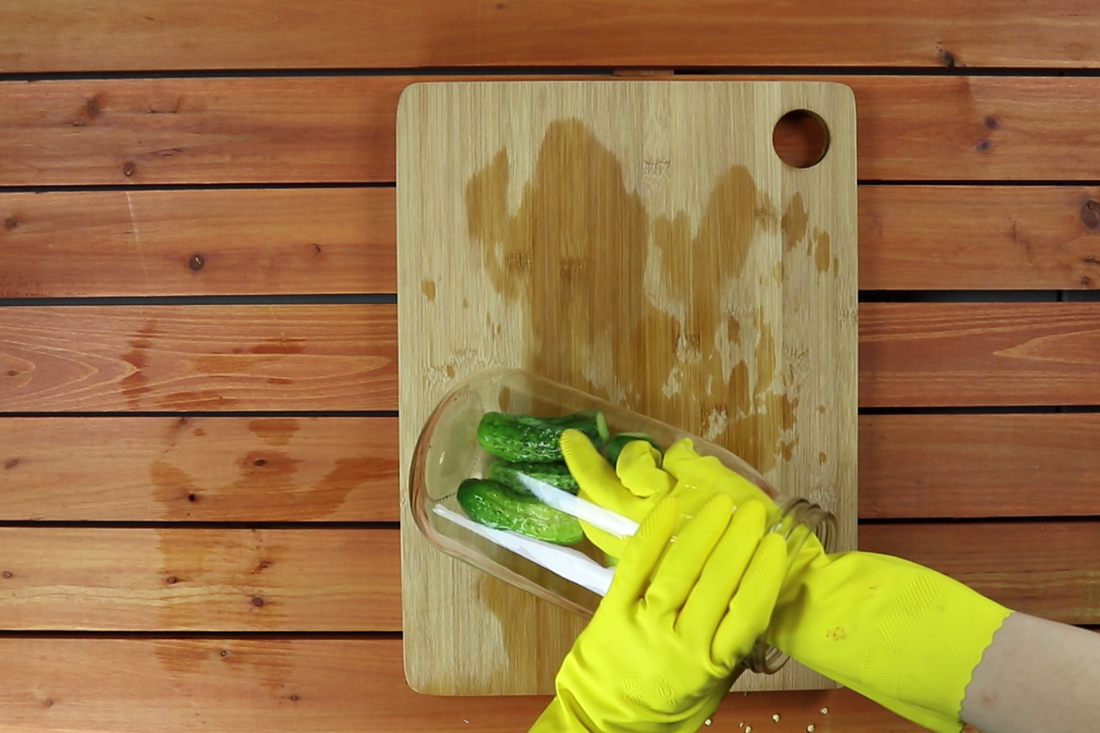
Step Six. Add the cucumbers
Create a layer of cucumbers at the bottom of each jar.
Step Seven. Add the garlic
Split your garlic into four separate piles. Add one of those piles to each of your two jars.
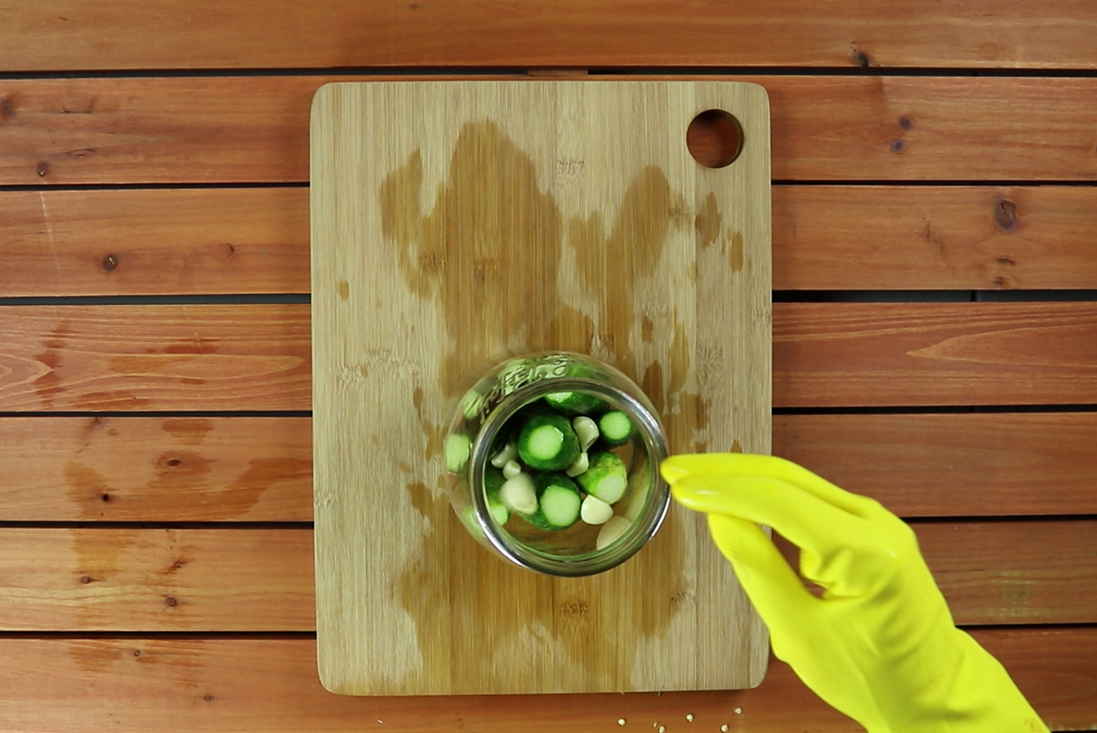
Step Eight. Add the jalapeños
Do the same with jalapeños. Split into four piles and add one pile to each jar.
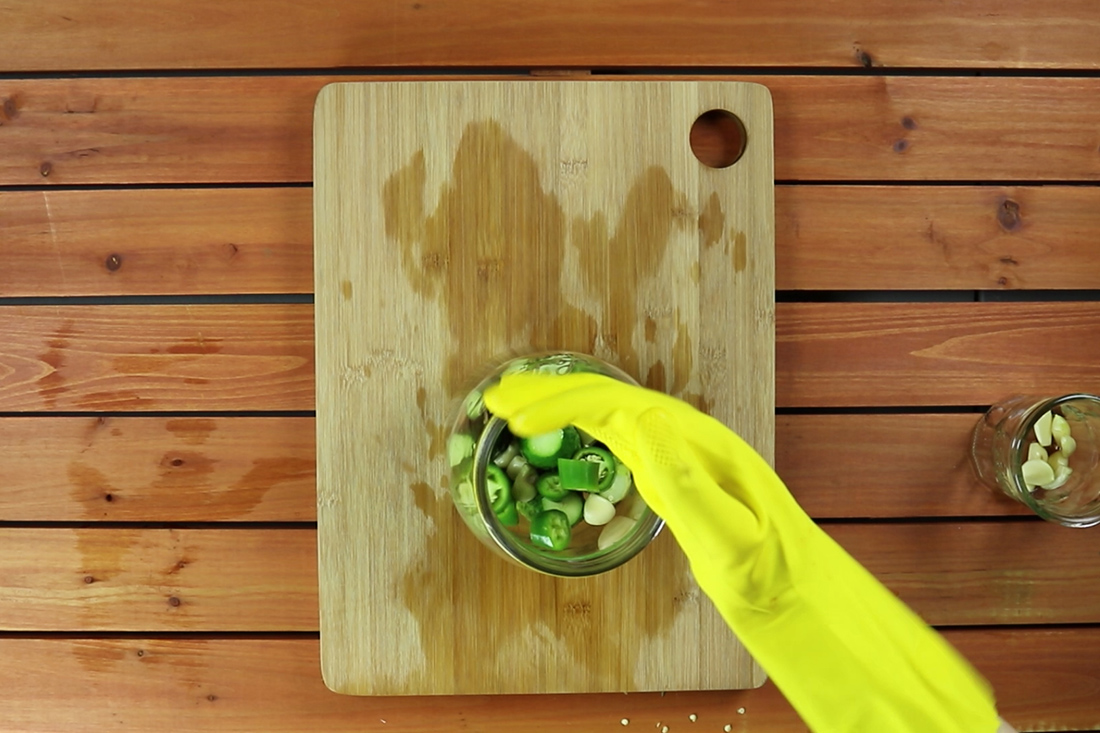
Step Nine. Add the bay leaf, grape leaf, and dill
Add a bay leaf, a grape leaf (helps keep pickles crisp), and some dill to your jars.
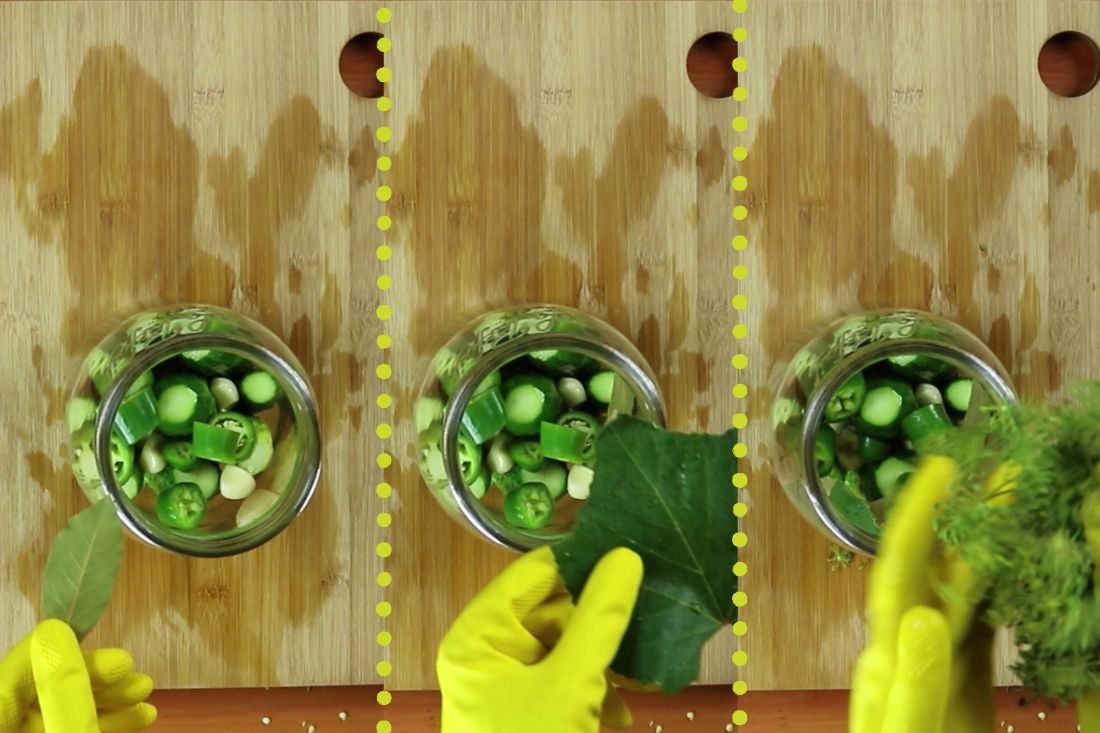
Step Ten. Repeat
Repeat steps six through nine until the jar is filled with layers of cucumber and flavor accoutrements.
Step Eleven. Add the brine
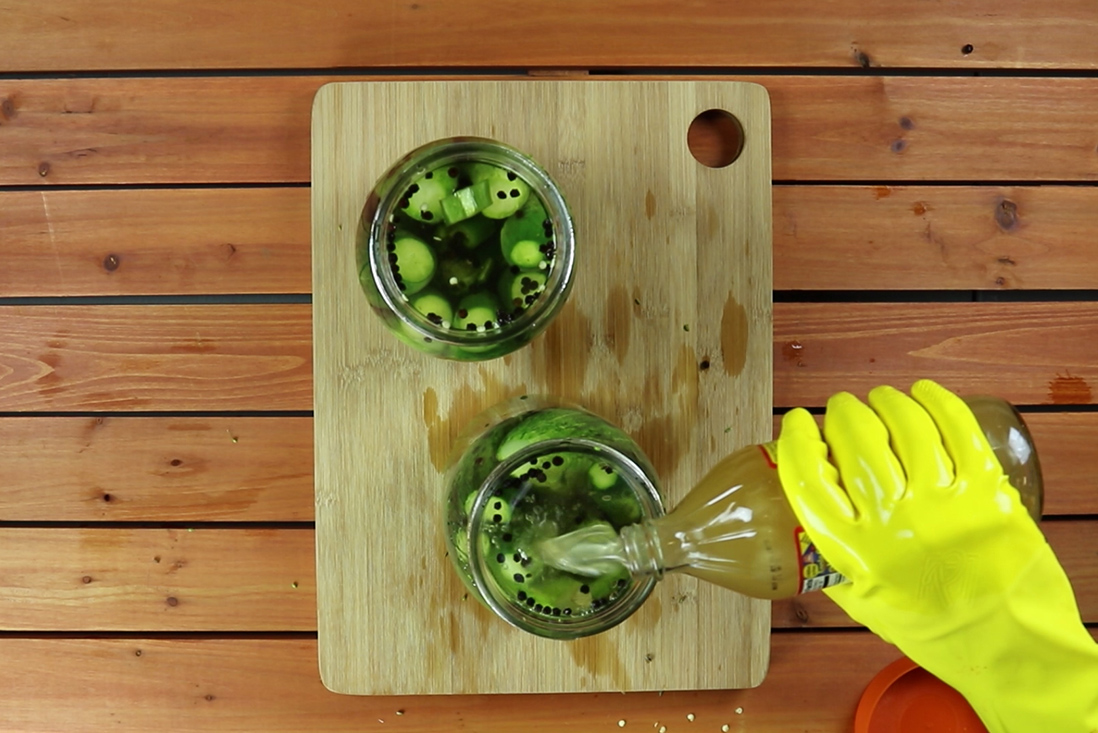
Top the jar off with warm brine, completely covering the cucumbers.
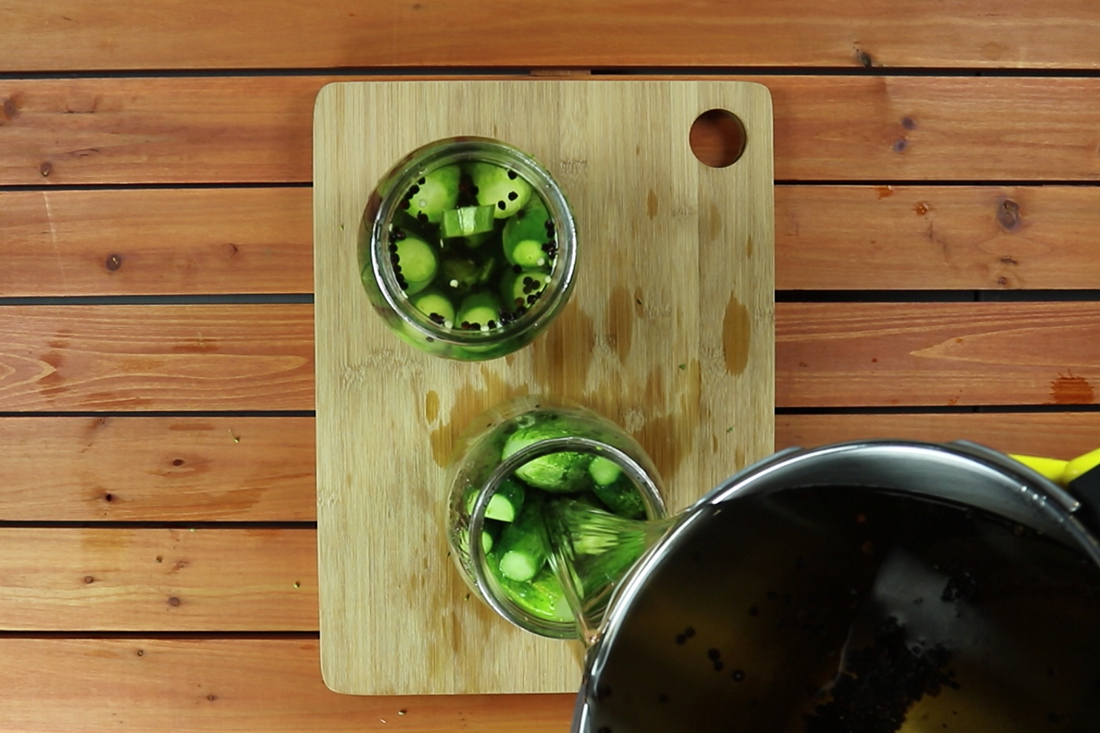
Step Twelve. Add the vinegar
Add a small splash of raw apple cider vinegar for flavor.
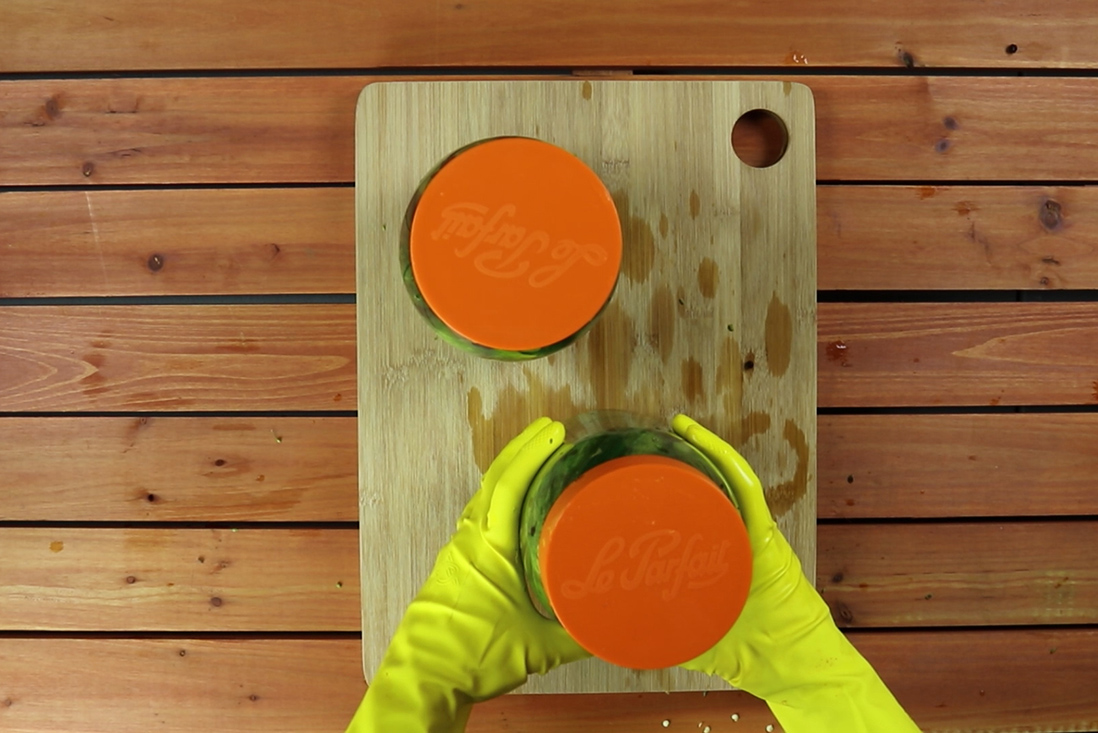
Step Thirteen. Cap and set in a sunny, warm location
Place the lid on the jar, but don’t over-tighten. As these pickles are going through fermentation, there will be gas that needs to be vented. Failure to properly vent pickles may lead in broken pickle jars; ruined pickles and a mess of brine! Place jar in a sunny location for about three days. You will be able to see them bubble and darken as they ferment- this is normal. Refrigerate and enjoy!
What can’t you do with homemade pickles?
Your finished pickles will need to be stored in the refrigerator to stop the fermentation process. Homemade pickles are great as a snack or added to a sandwich or burger, but their culinary uses are myriad beyond backyard meals. Add chopped pickles to sauces and salads for a burst of flavor, or deep fry them for a particularly decadent treat.
You can tailor this recipe by omitting or changing up the jalapeños to something spicier or more flavorful. Increase the garlic for a more pungent aroma. If you start making pickles early enough in the season, you’ll have weeks to try out all of your pickle variations.
