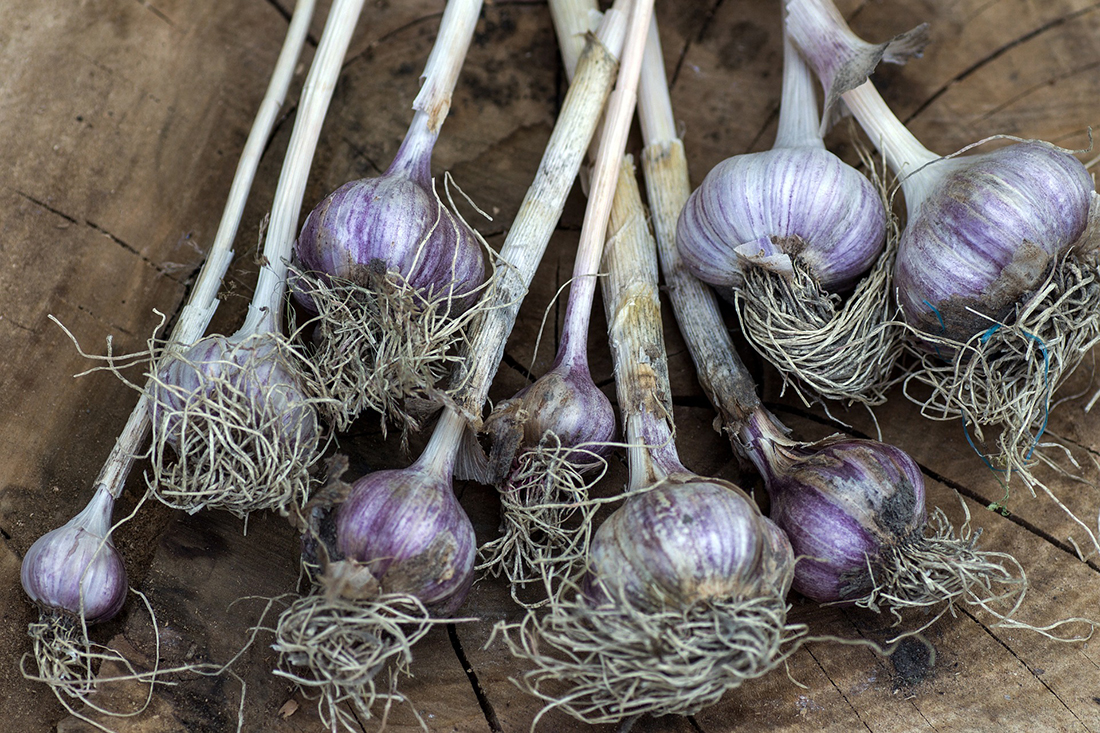
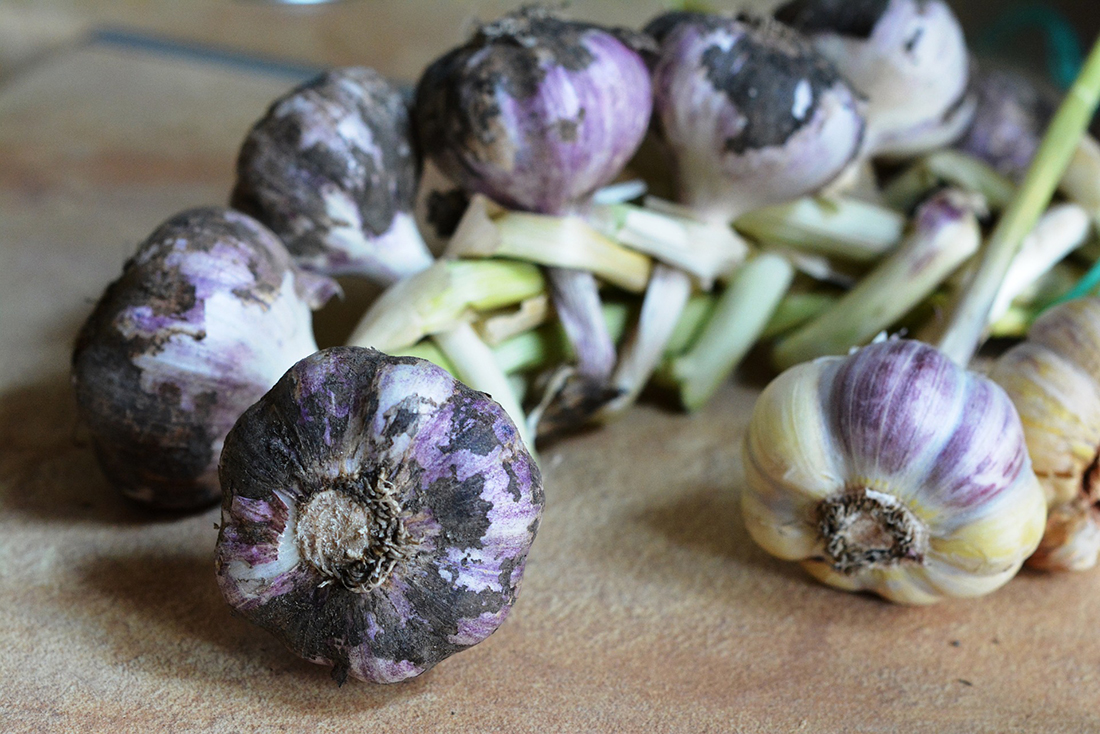
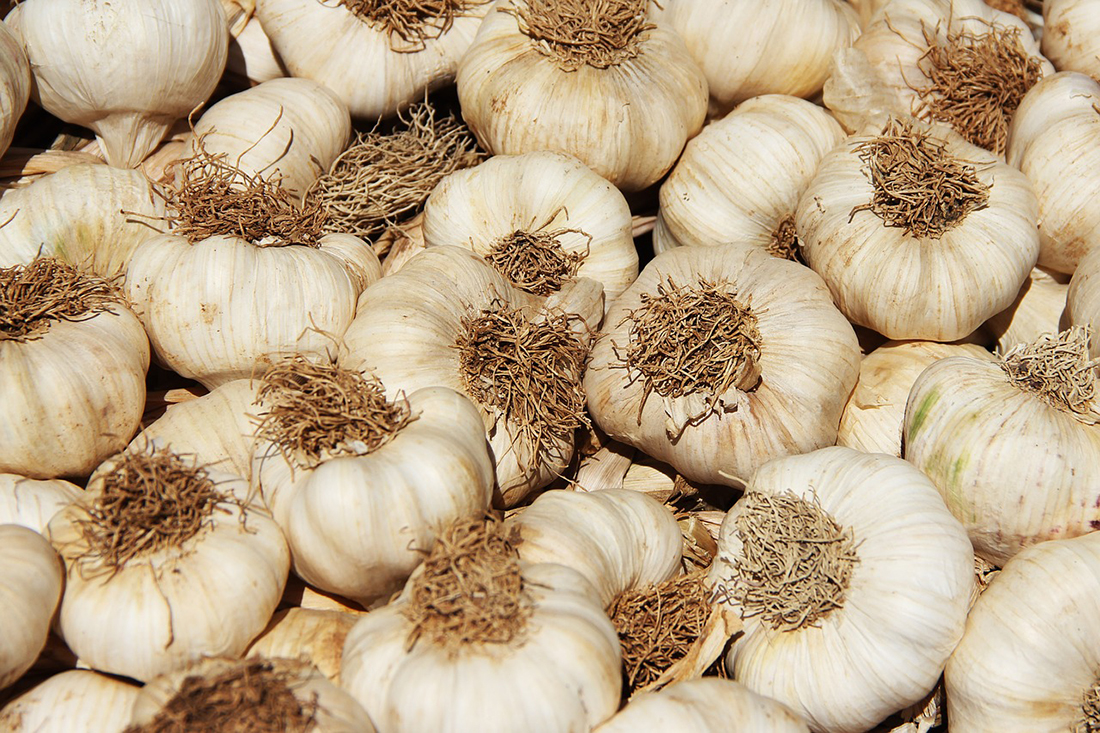
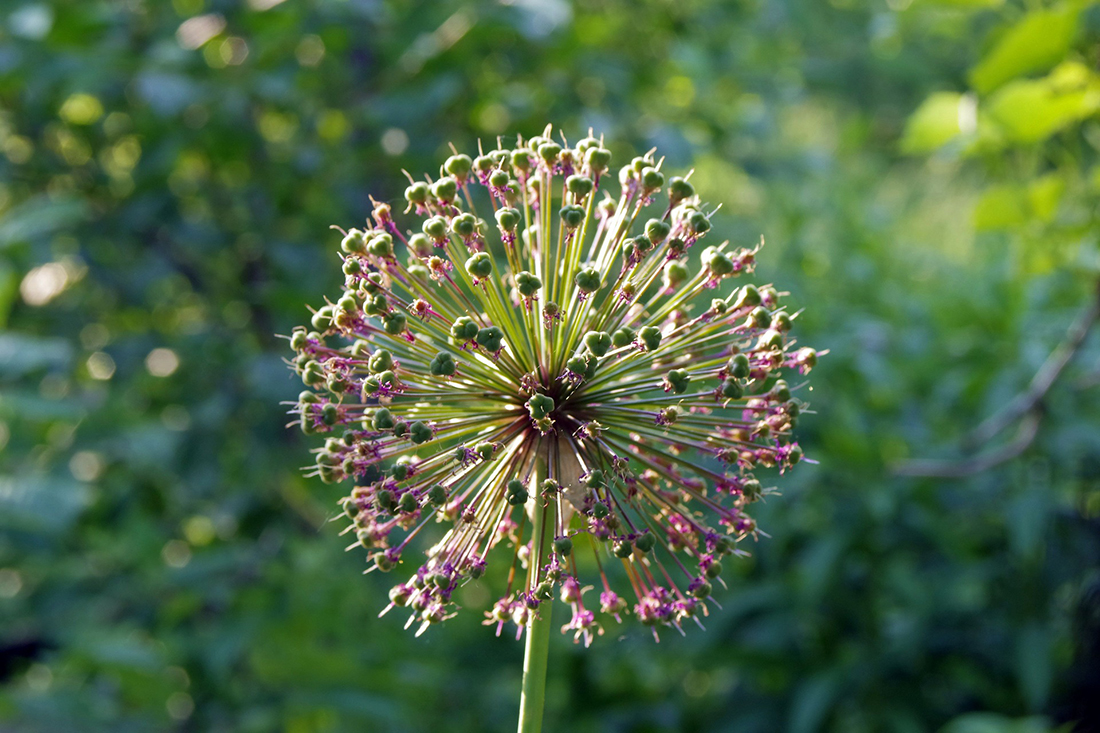
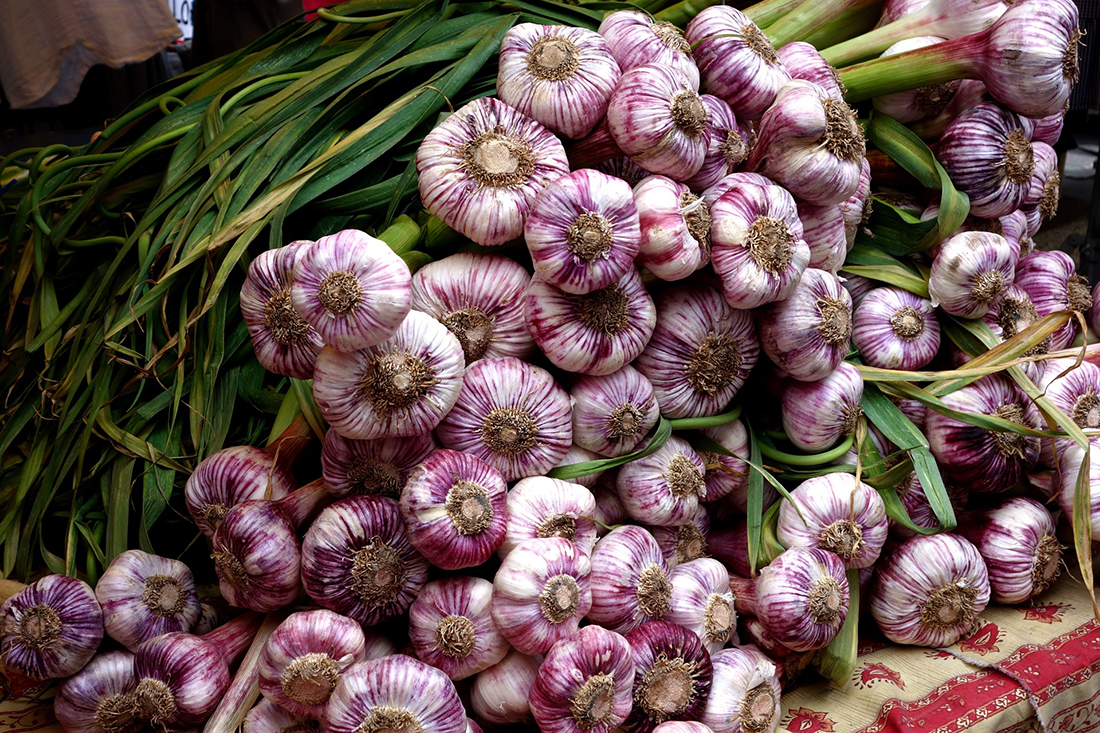
When summer has arrived, it is time to harvest the garlic planted in the fall. This may be your first time harvesting, or you just might just need a refresher on how to harvest and properly store your precious bulbs.
First, there are three types of garlic with different flavor profiles and storage qualities:
• Hardnecks
• Softnecks
• Elephant
Hardneck garlic has, you guessed it, a much harder stem than softneck garlic. They do well in cooler winters. The cloves form in a circle around the stem in one layer, producing a larger clove size, but fewer cloves than softnecks. Hardneck varieties in general store for about 3-6 months. They tend to pack a lot of spicy heat.
Softneck garlic has softer, more pliable stems. There are often several layers of cloves of varying sizes around the stem. This is the garlic used to make beautiful decorative braided garlic bunches. Softnecks store longer than hardnecks, generally 6-9 months. The flavor is typically milder.
Elephant garlic is very mild, almost akin in flavor to onion, and can store for up to 10 months. Usually there are around 4-5 gigantic cloves per bulb. They are excellent roasted.
So you’ve planted your garlic, cared for it by providing nutrients and water….now what?
The state of the garlic’s foliage is the indicator for harvest, rather than any particular date on the calendar. Gauging the right time to harvest is very important. Dug too soon, the skins won’t have formed around each clove, and the garlic will rot. Hardneck bulbs if dug too late may have begun to spread apart in the soil and will not store well. Each year the timing is a little different, so rather than watch the calendar, observe the plants.
As the bulbs mature, the leaves will brown off. When there is still about 50% of green leaves remaining on the plant, it is a good time to harvest. (Incidentally, immature bulbs that haven’t fully developed skins around their cloves can be chopped up like onions and make delicious additions to cooking).
In very good garlic ground (very fluffy soil) the plants might be pulled by hand, but it is usually better to loosen the soil first with a spading fork. Immediately brush off the soil from around the roots, but do so gently.
Drying is the essential part of curing the bulbs, so do not wash them in water. Immediately move the newly dug garlic out of direct sunlight.
Some growers tie the garlic plants by their leaves or stalks in loose bundles of 8-12 plants and hang them under cover. Others spread the plants in single layers on screens, drying racks, or slatted shelves. You can attach your wooden plant marker or a label to bunches, or drying racks to keep track of your different varieties.
Garlic stores longer if it is cured with its stalk or leaves attached. Good air circulation is absolutely essential. The plants should cure from 3 weeks to 2 months, depending on the humidity and amount of air circulation. Some growers use a fan in the curing shed.
After curing, you may trim the roots. If the garlic is to be kept in sacks, cut the stalks off 1/2 inch above the bulb and gently clean the bulbs with a soft bristle brush, taking care not to strip off the papery skin.

