Why Sprout Seeds?
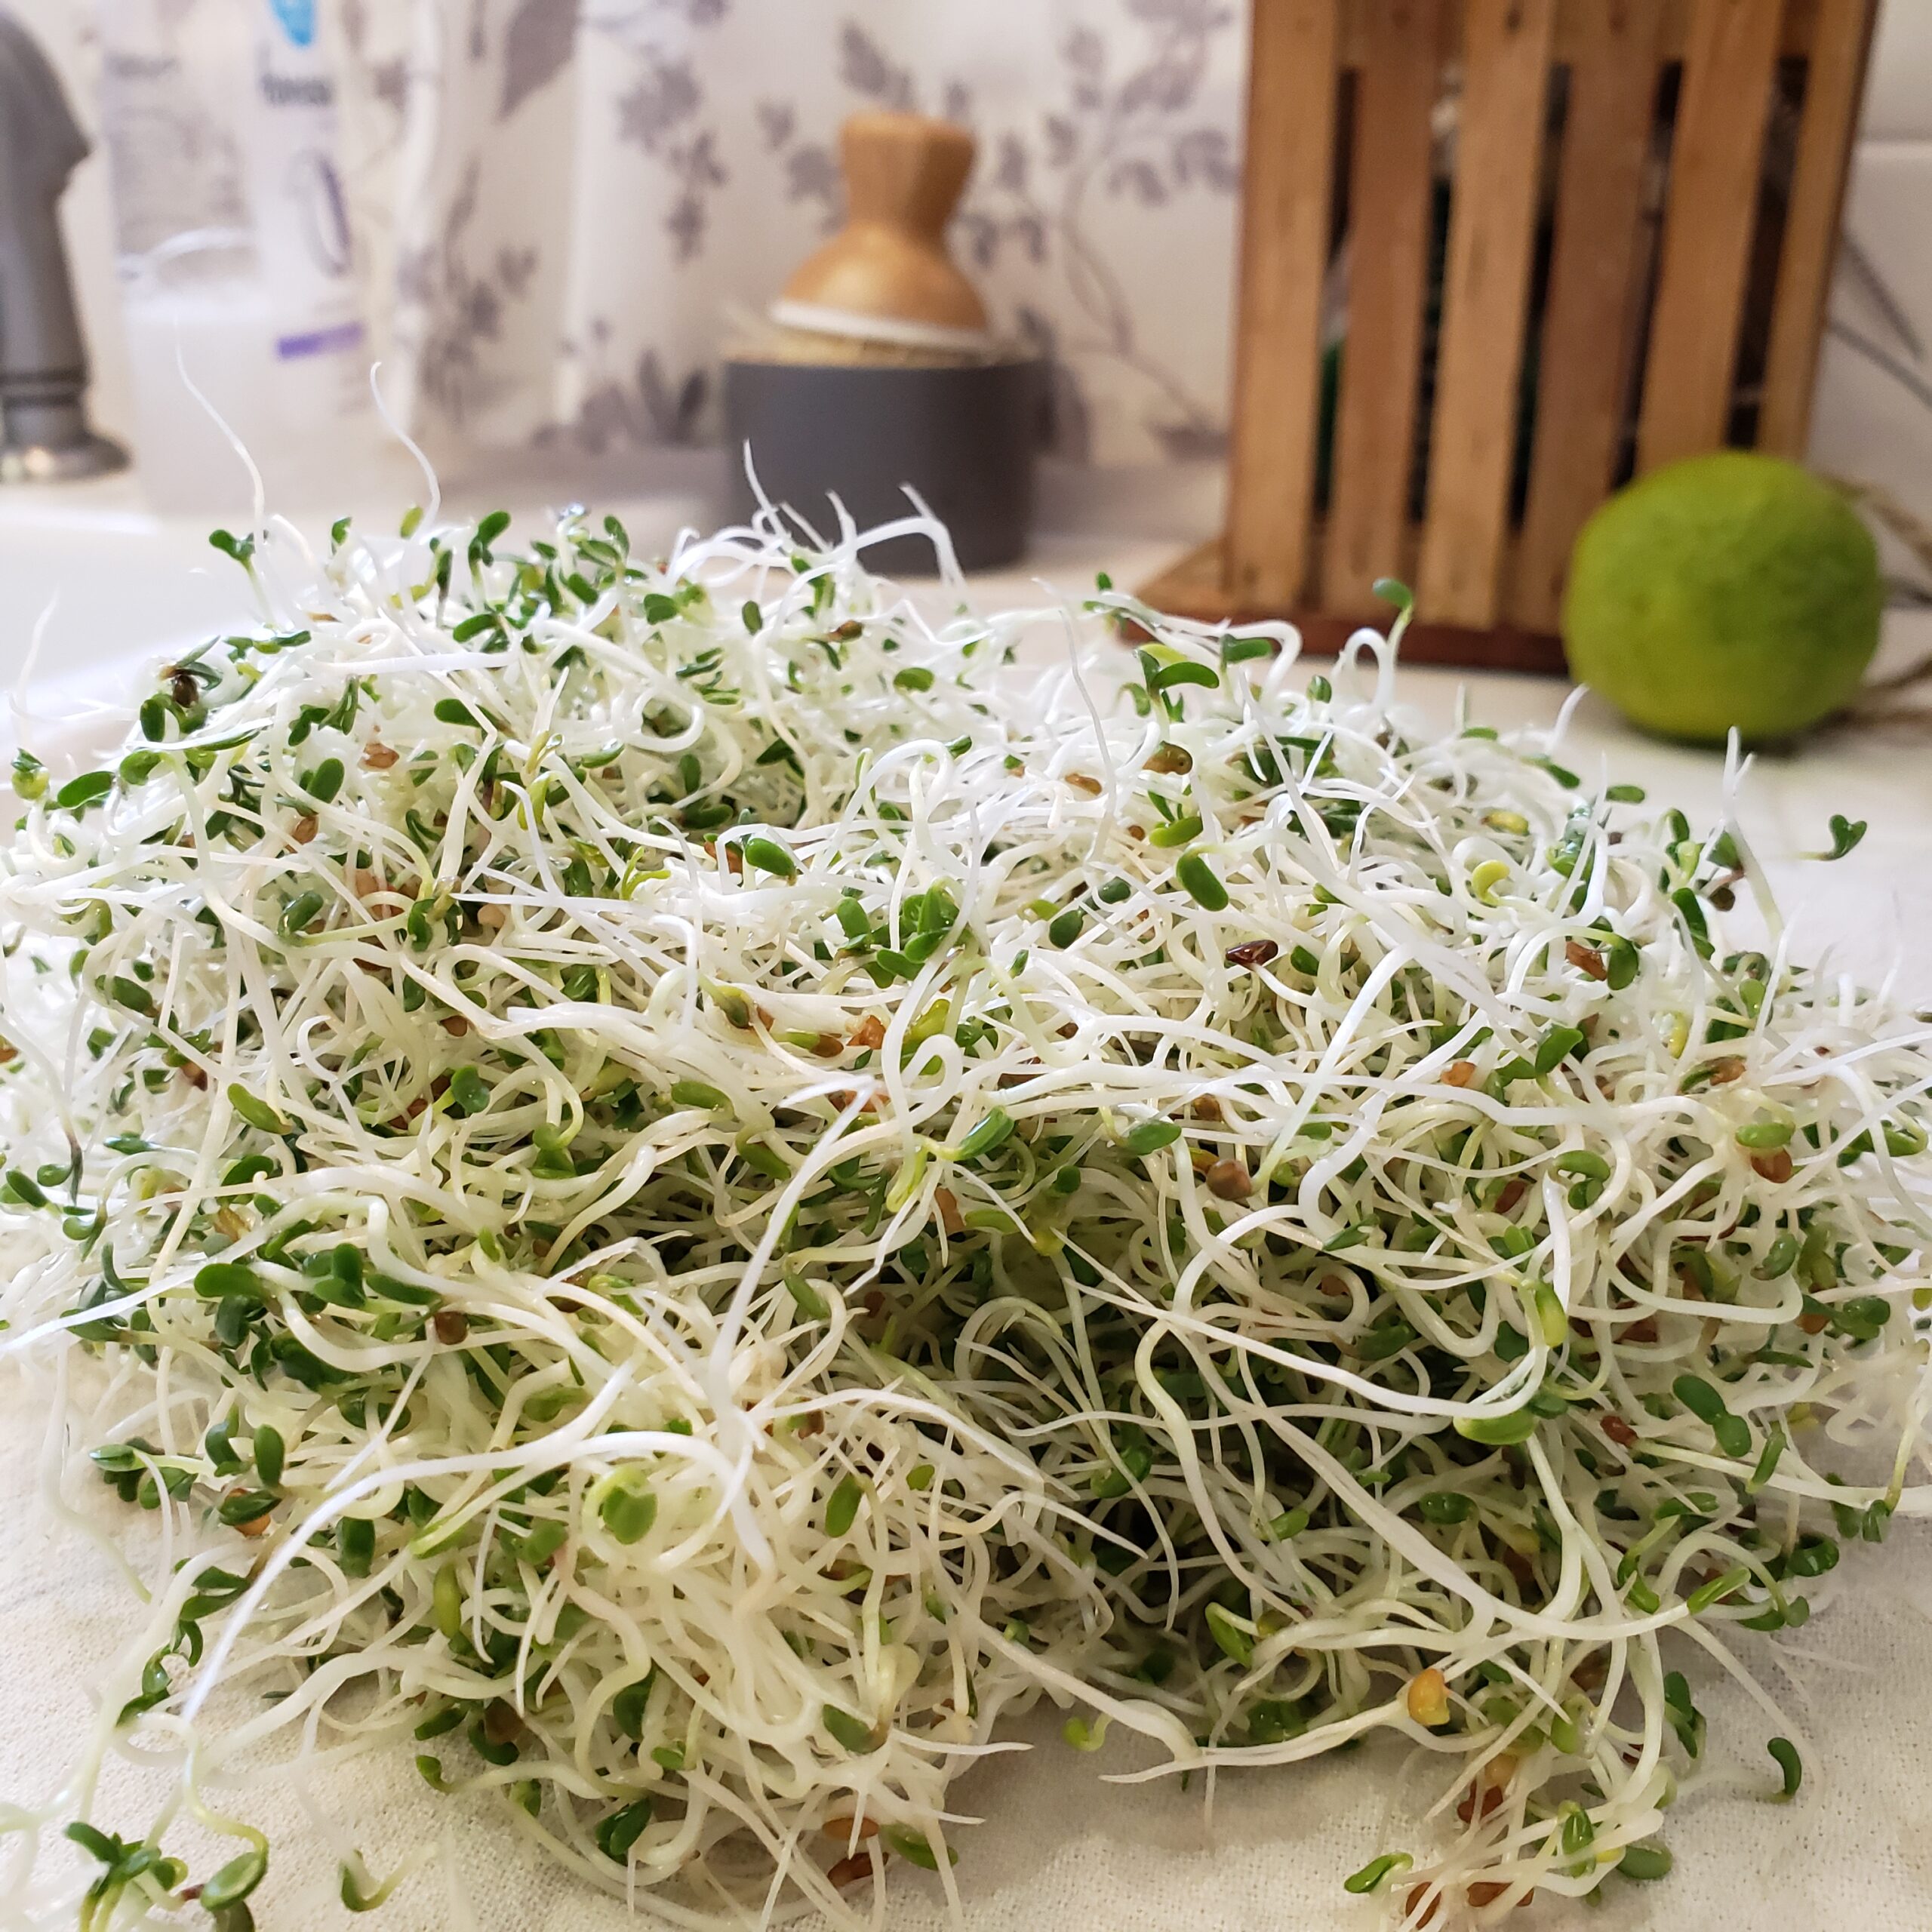
When you grow your own sprouts, you can have fresh, delicious sprouts on demand. It is inexpensive compared to buying from the store, with minimal risk of contamination. Seed sprouting is not only inexpensive but incredibly simple. It only takes a couple of minutes out of your day to grow them.
Sprouts can be enjoyed in salads, on sandwiches, or enjoyed by the handful! There are many different sprouting seeds with unique flavors ranging from very mild, to spicy hot. Down To Earth carries organic sprouting seeds from The Handy Pantry.
Health Benefits
Research supports the health benefits of eating sprouted foods. These benefits include making foods more easily digestible and nutritious, allowing the body to more easily absorb nutrients like iron, zinc, and vitamin C (providing an energy boost). There is evidence suggesting that broccoli sprouts, in particular, may help to prevent cancer, due to their high glucosinolate content.
Different Sprouting Methods
We carry a few options for sprouting seeds from home:
• The Easy Sprout
• Biosta
• Glass mason quart jar & assorted sprouting lids
The Easy Sprout has several parts, making it easy to rinse, drain, and store your finished sprouts. The Biosta is a 3-tiered system that allows you to sprout three different kinds of seeds separately in the same sprouter.
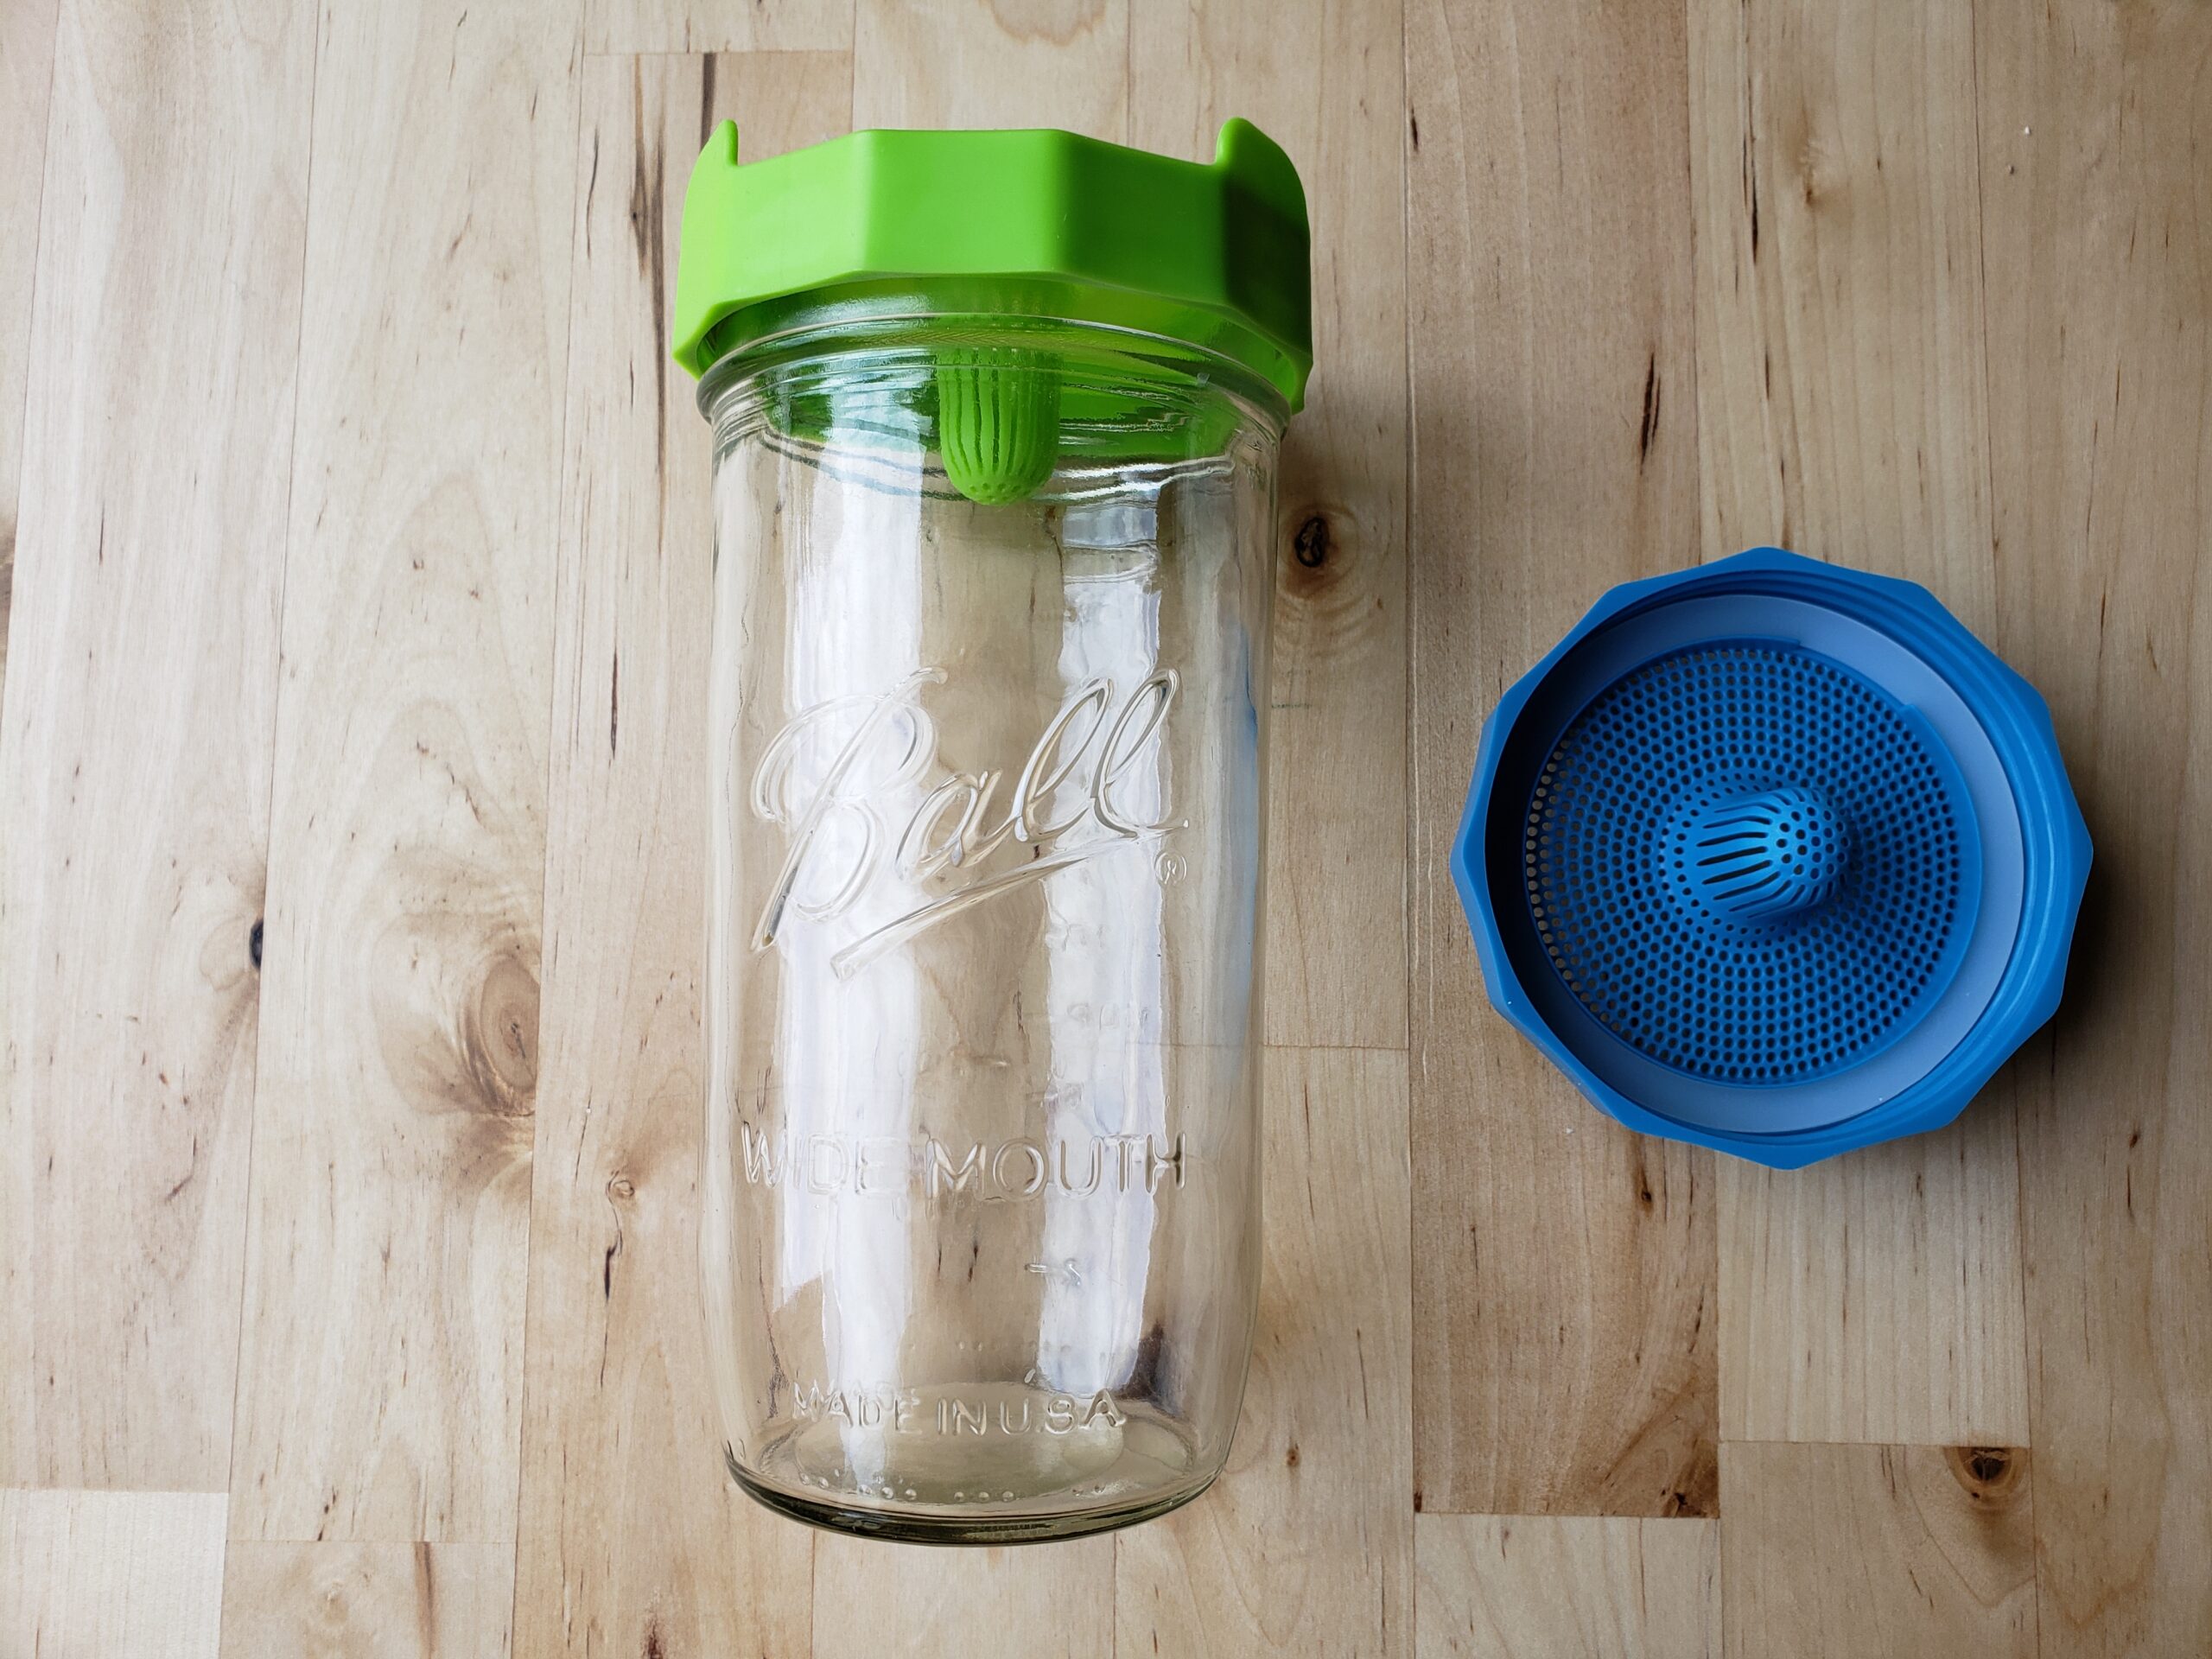
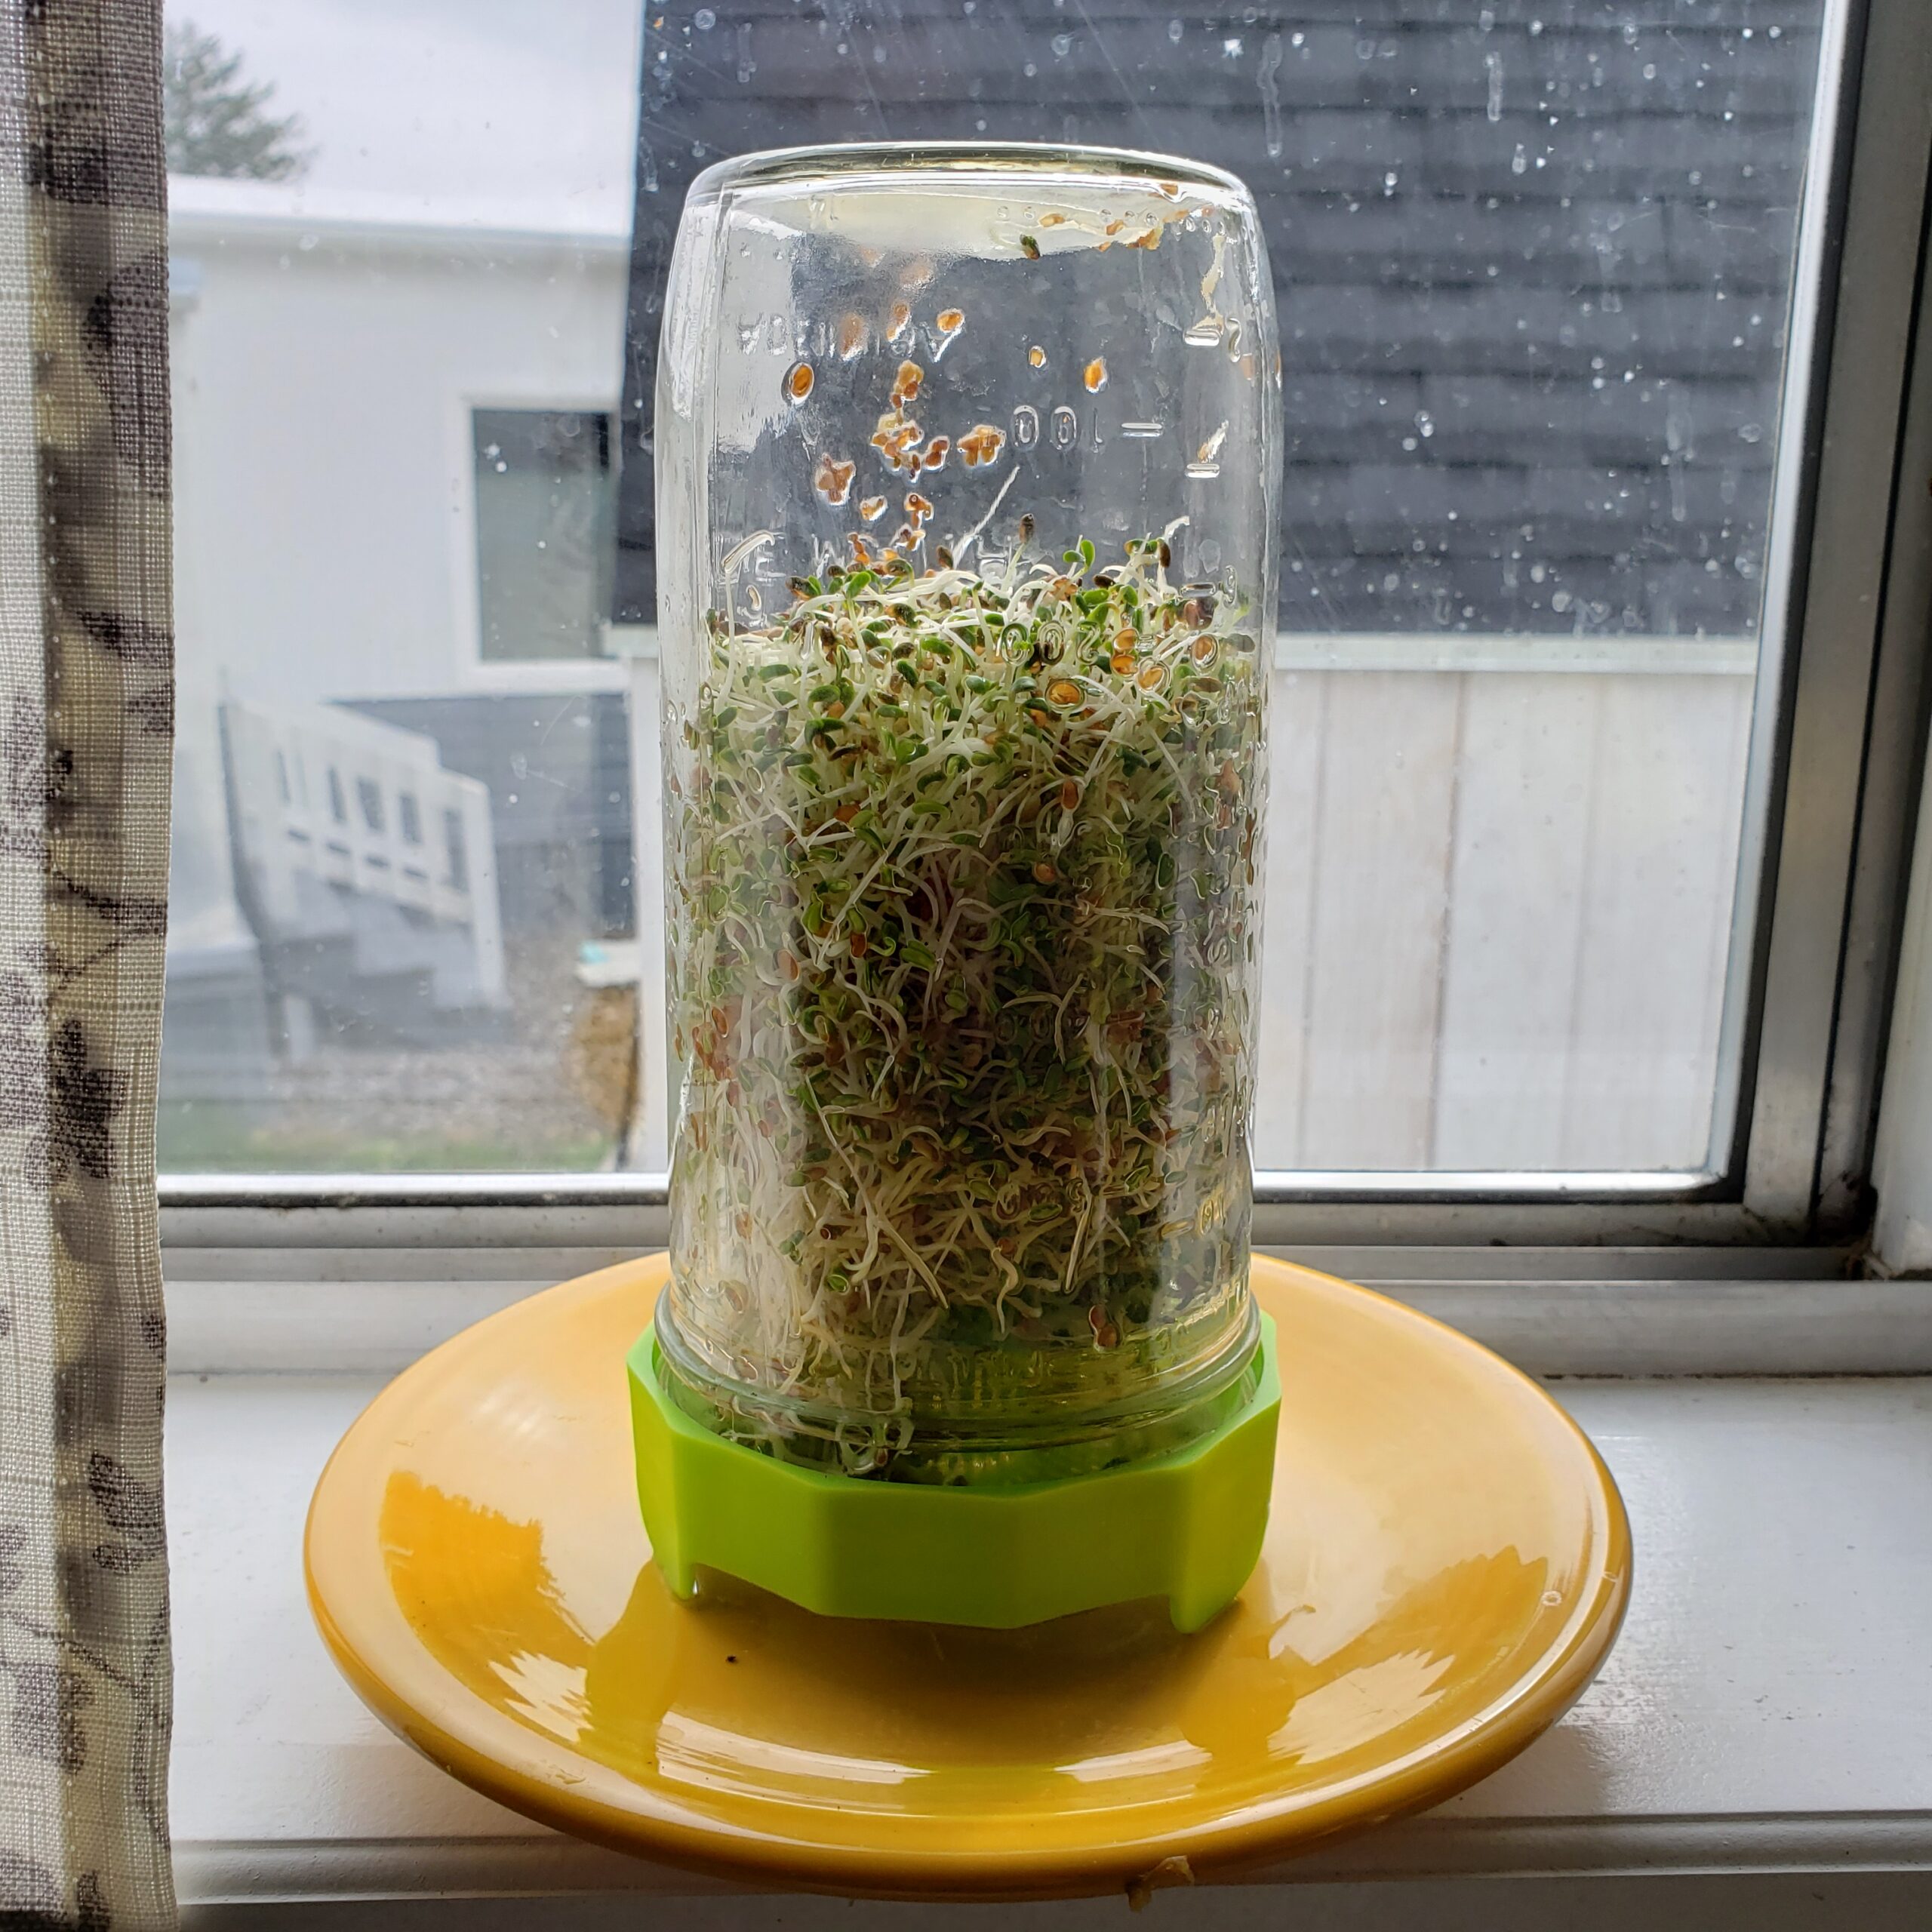
One of the easiest ways to sprout seeds is a quart mason jar. It’s both simple and inexpensive. All you need is a jar, and a sprouting screen. We carry a stainless steel screen that can be screwed on with a canning ring or a one-piece plastic screen. The benefit of the plastic screen is that it will eliminate a rusty canning ring, which can happen over time. We also have plastic ‘rings’ as well as an entire one-piece BPA Free “Bean Screen” that acts as a draining lid with small pegs so that you can prop your jar upside down to drain the water. (shown used in the photos)
How to Sprout in a Jar
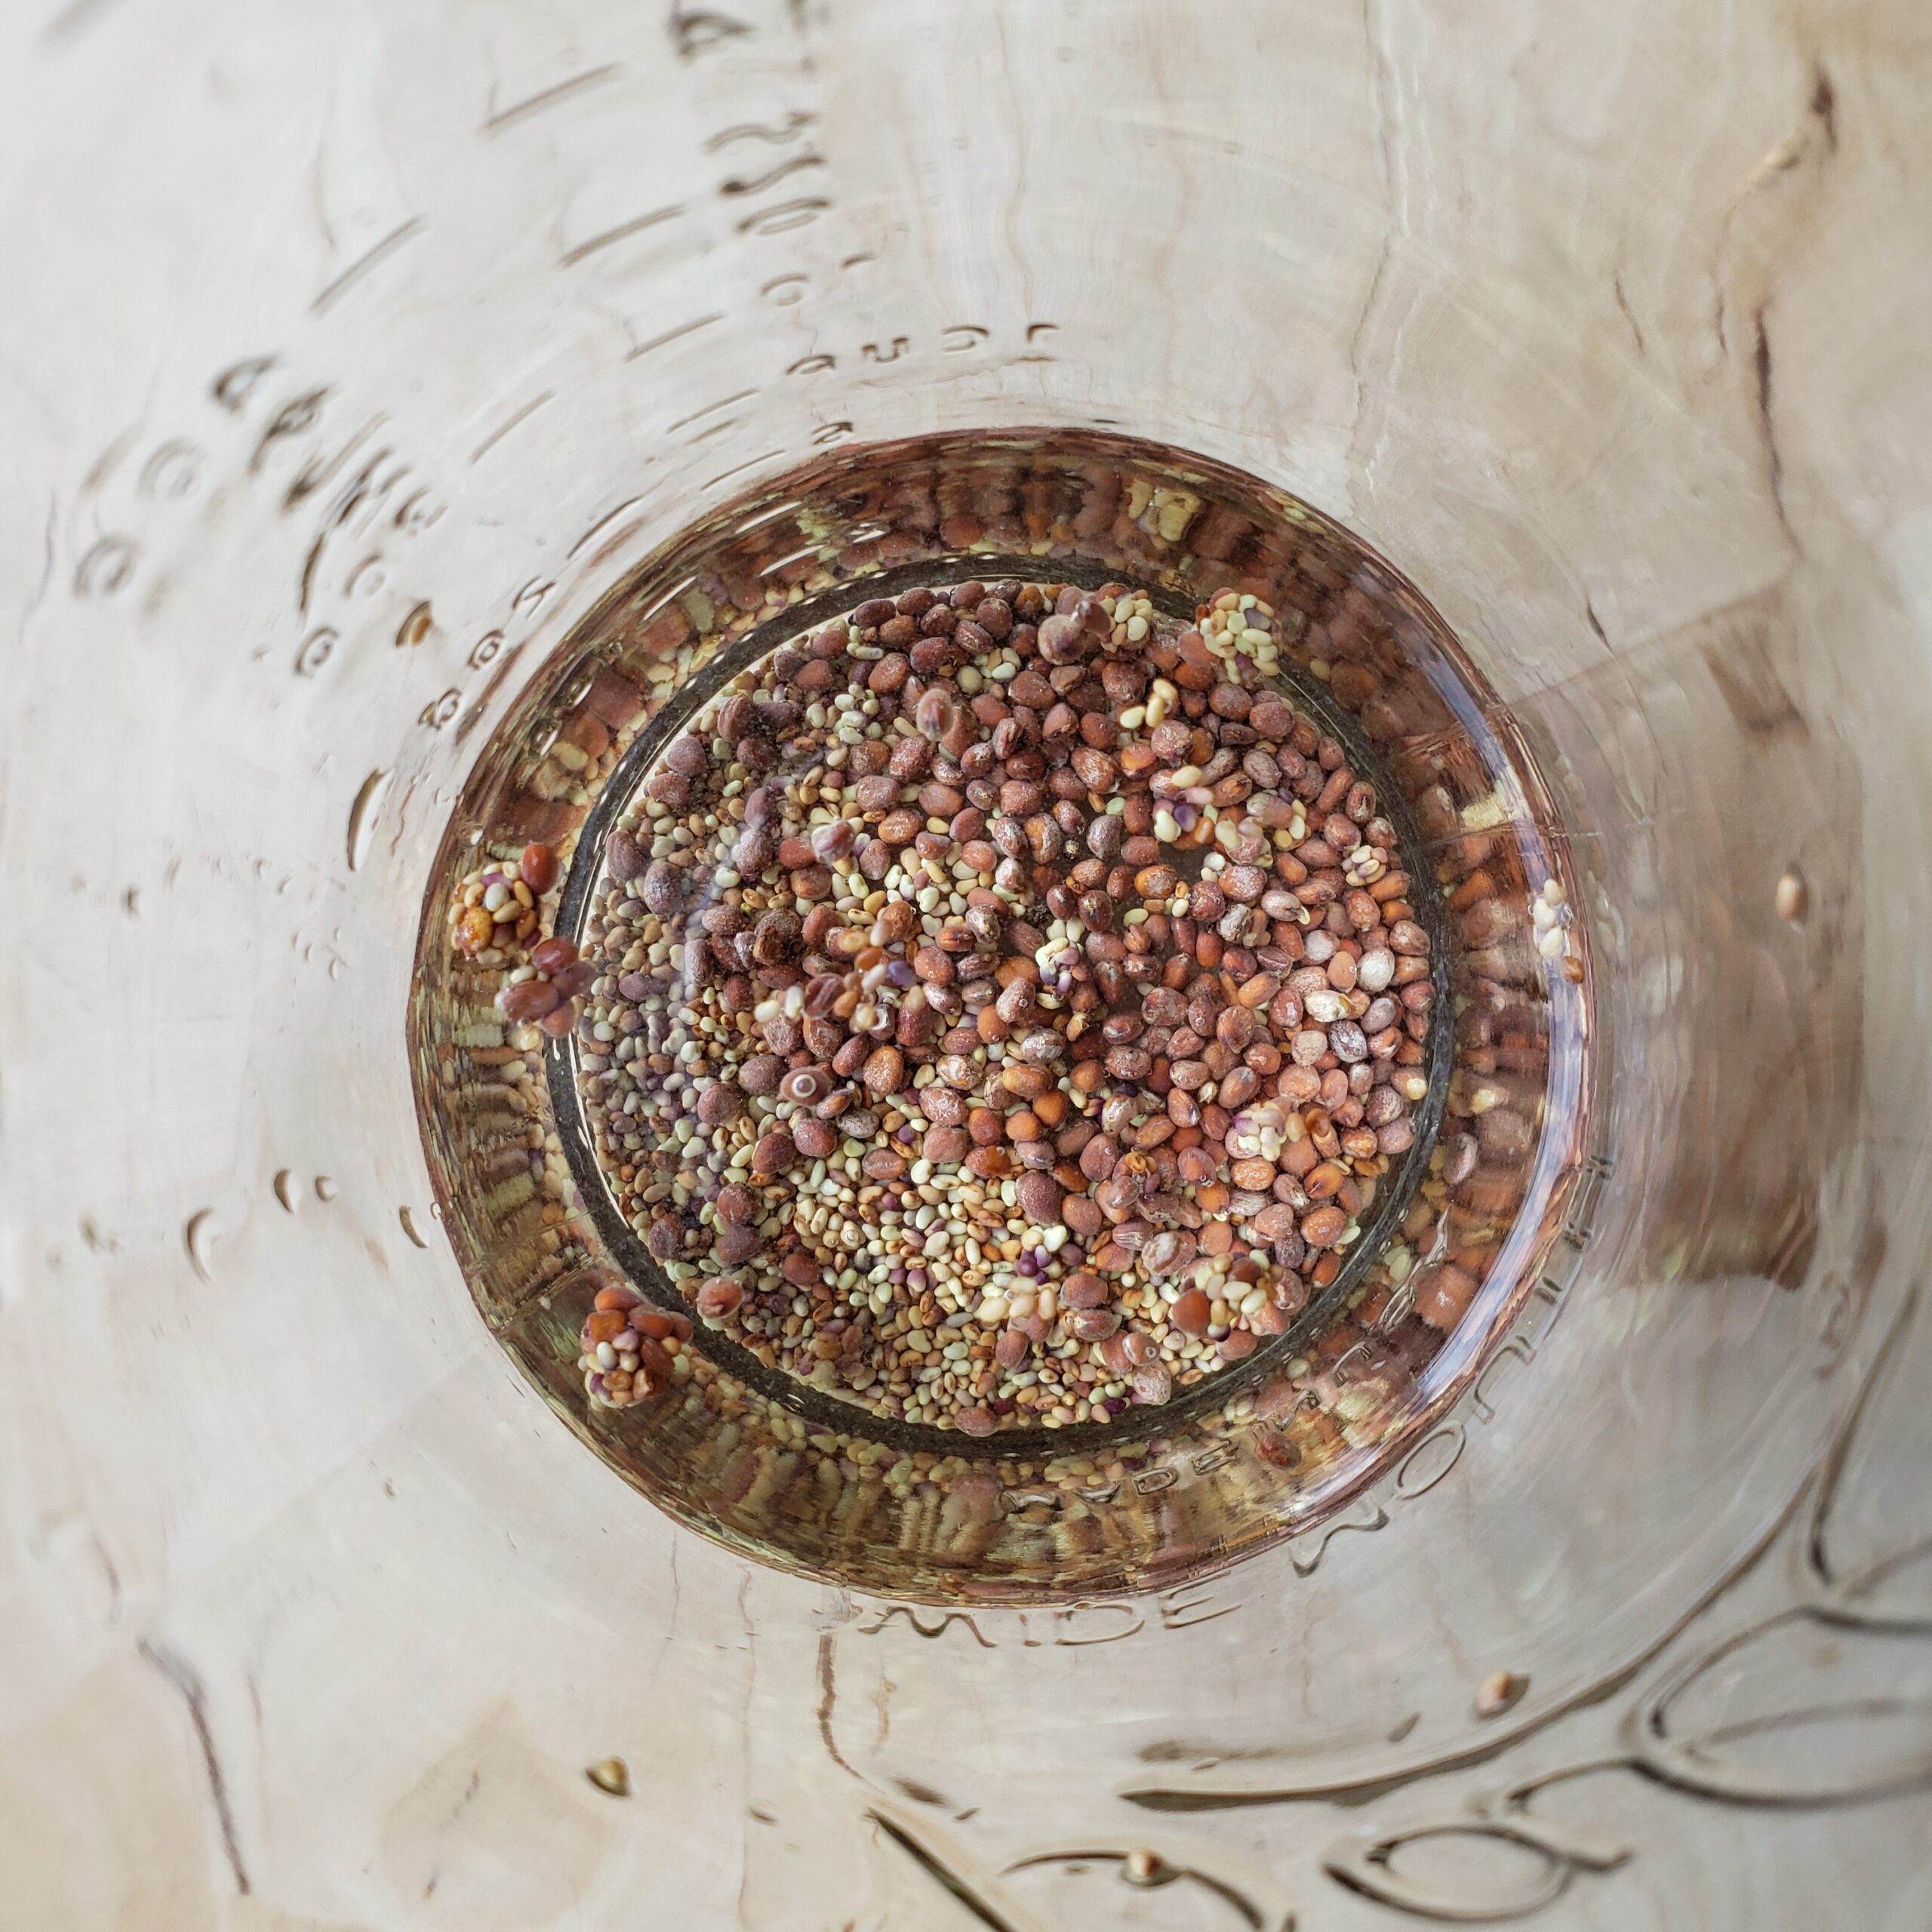
1. Soak your seeds. Place seeds in the jar, then cover with tepid water, and let soak overnight (unless otherwise specified) in a dark area.
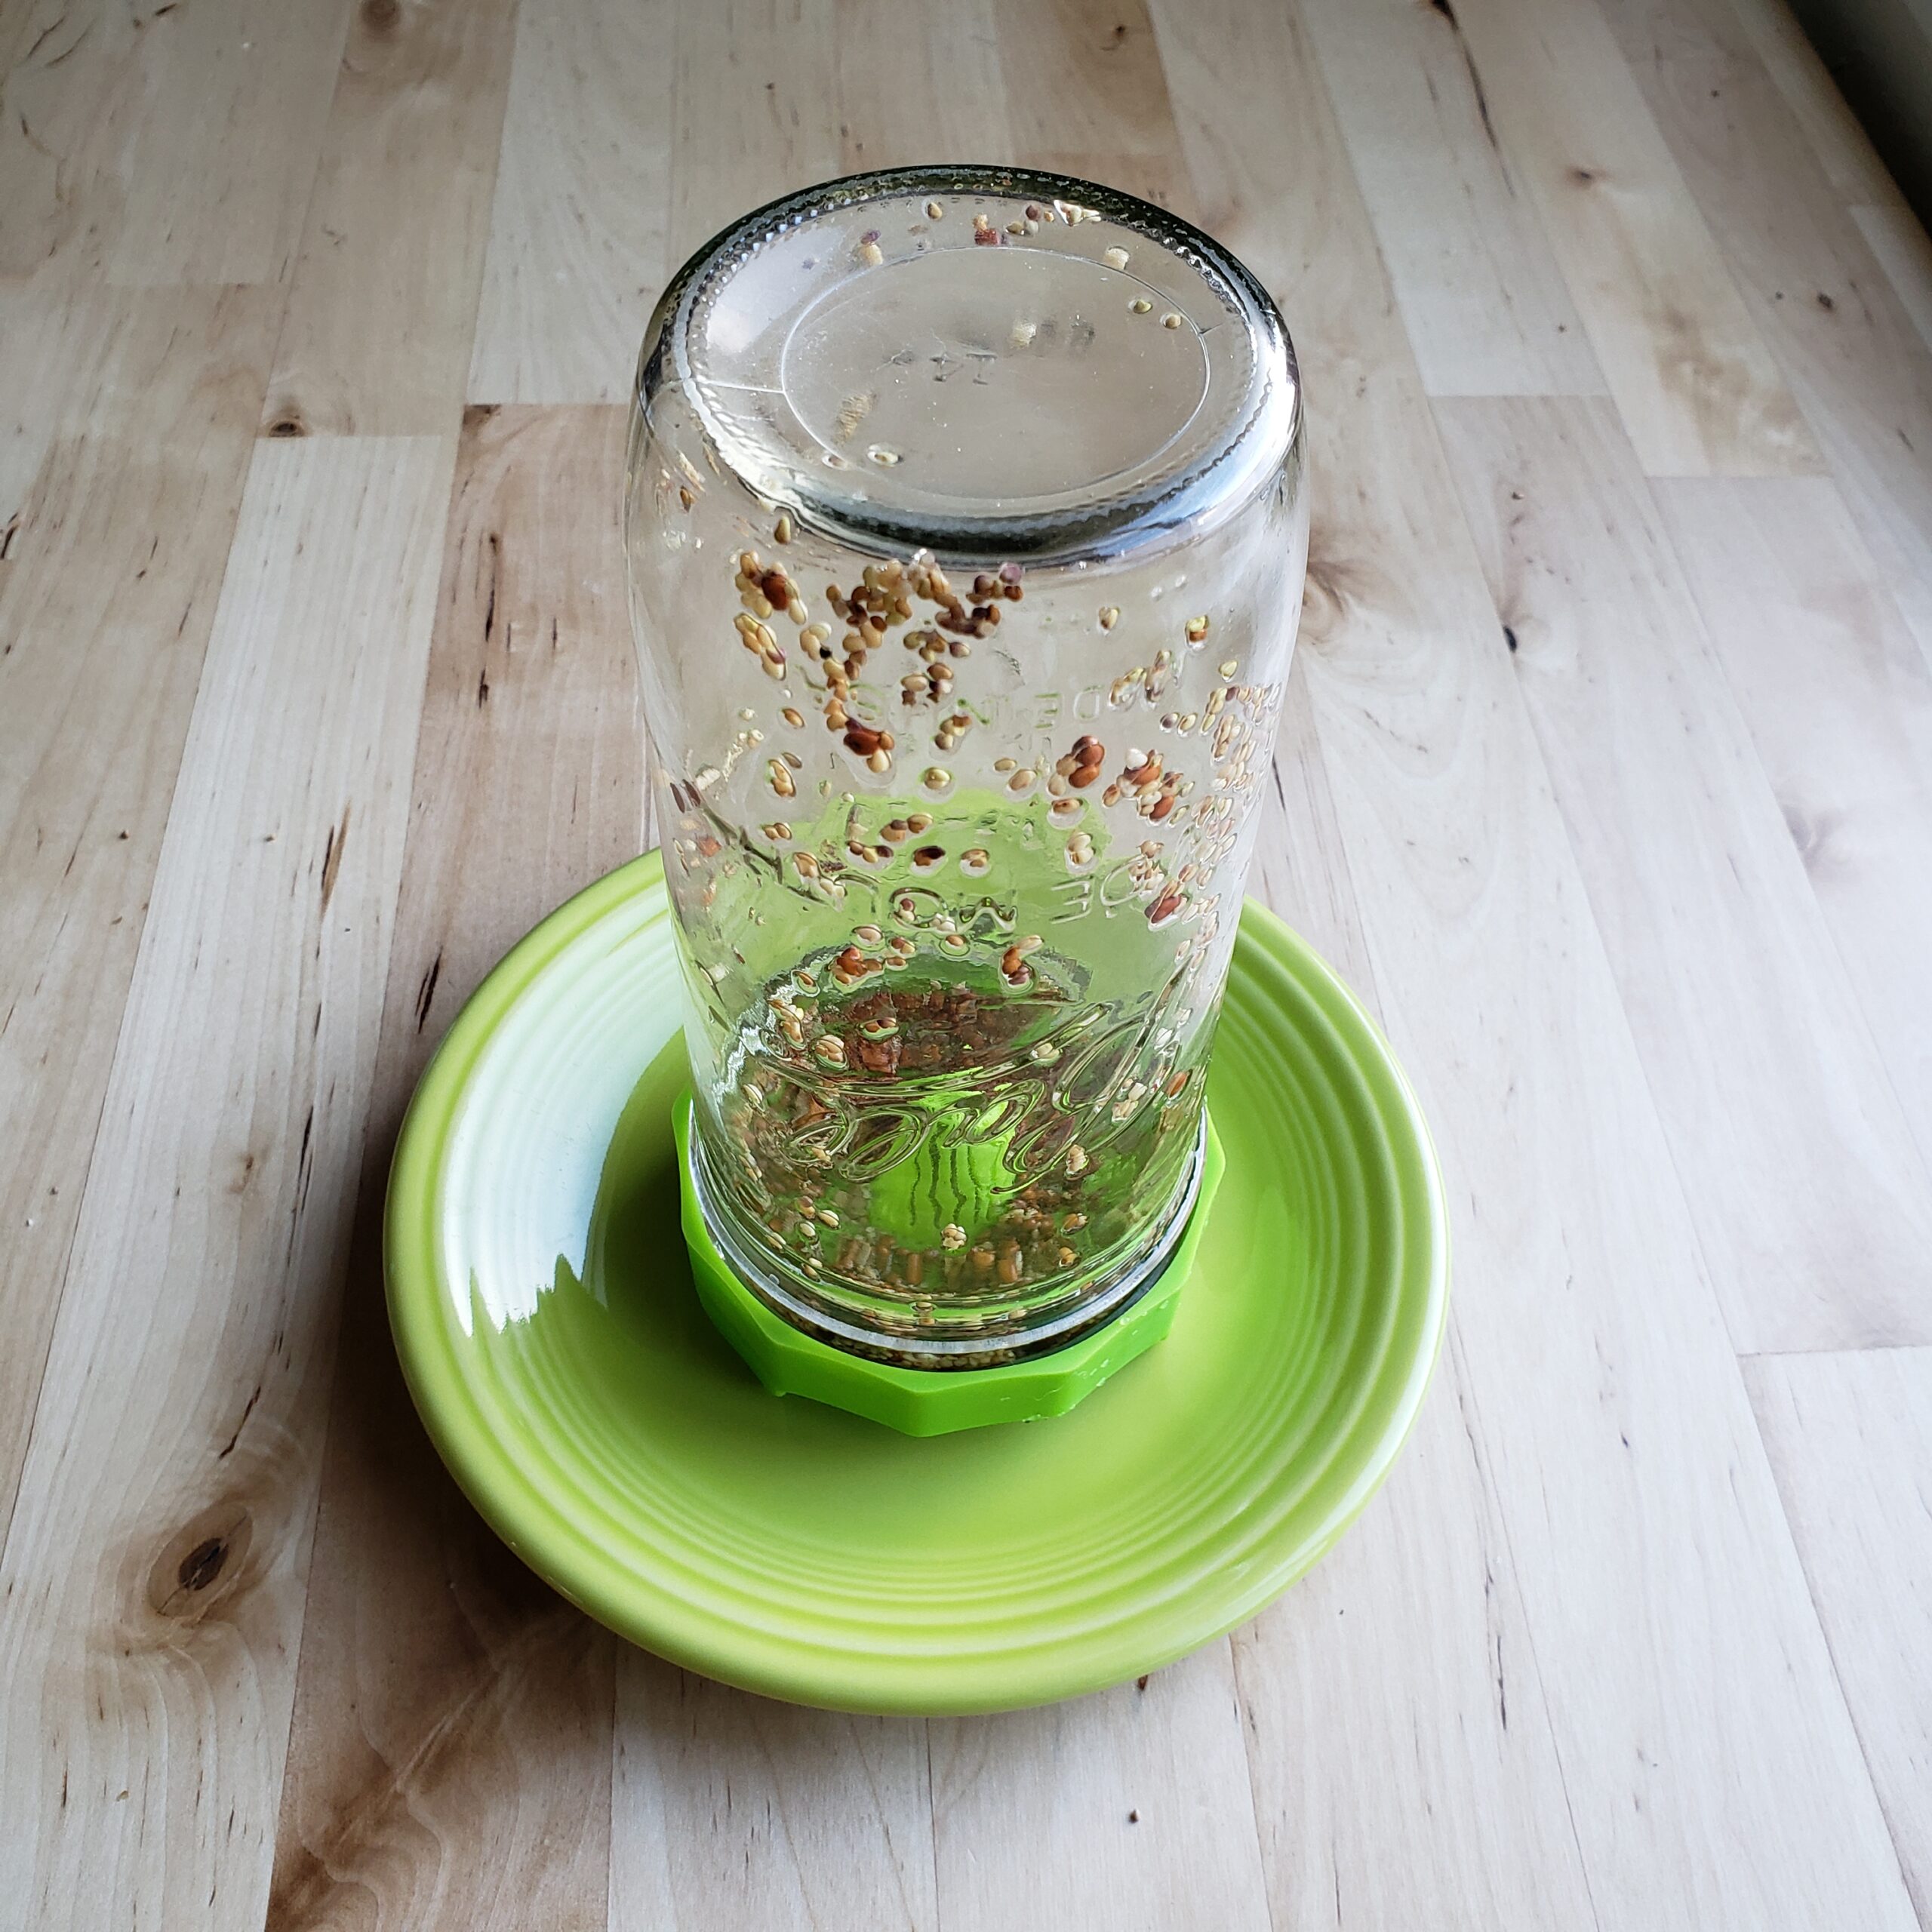
2. Drain and start. Empty water from the jar, then turn jar to spread out the seed over the surface of the jar. Place jar at an angle where any extra water can strain out. Cover with a towel for about 4 hours.
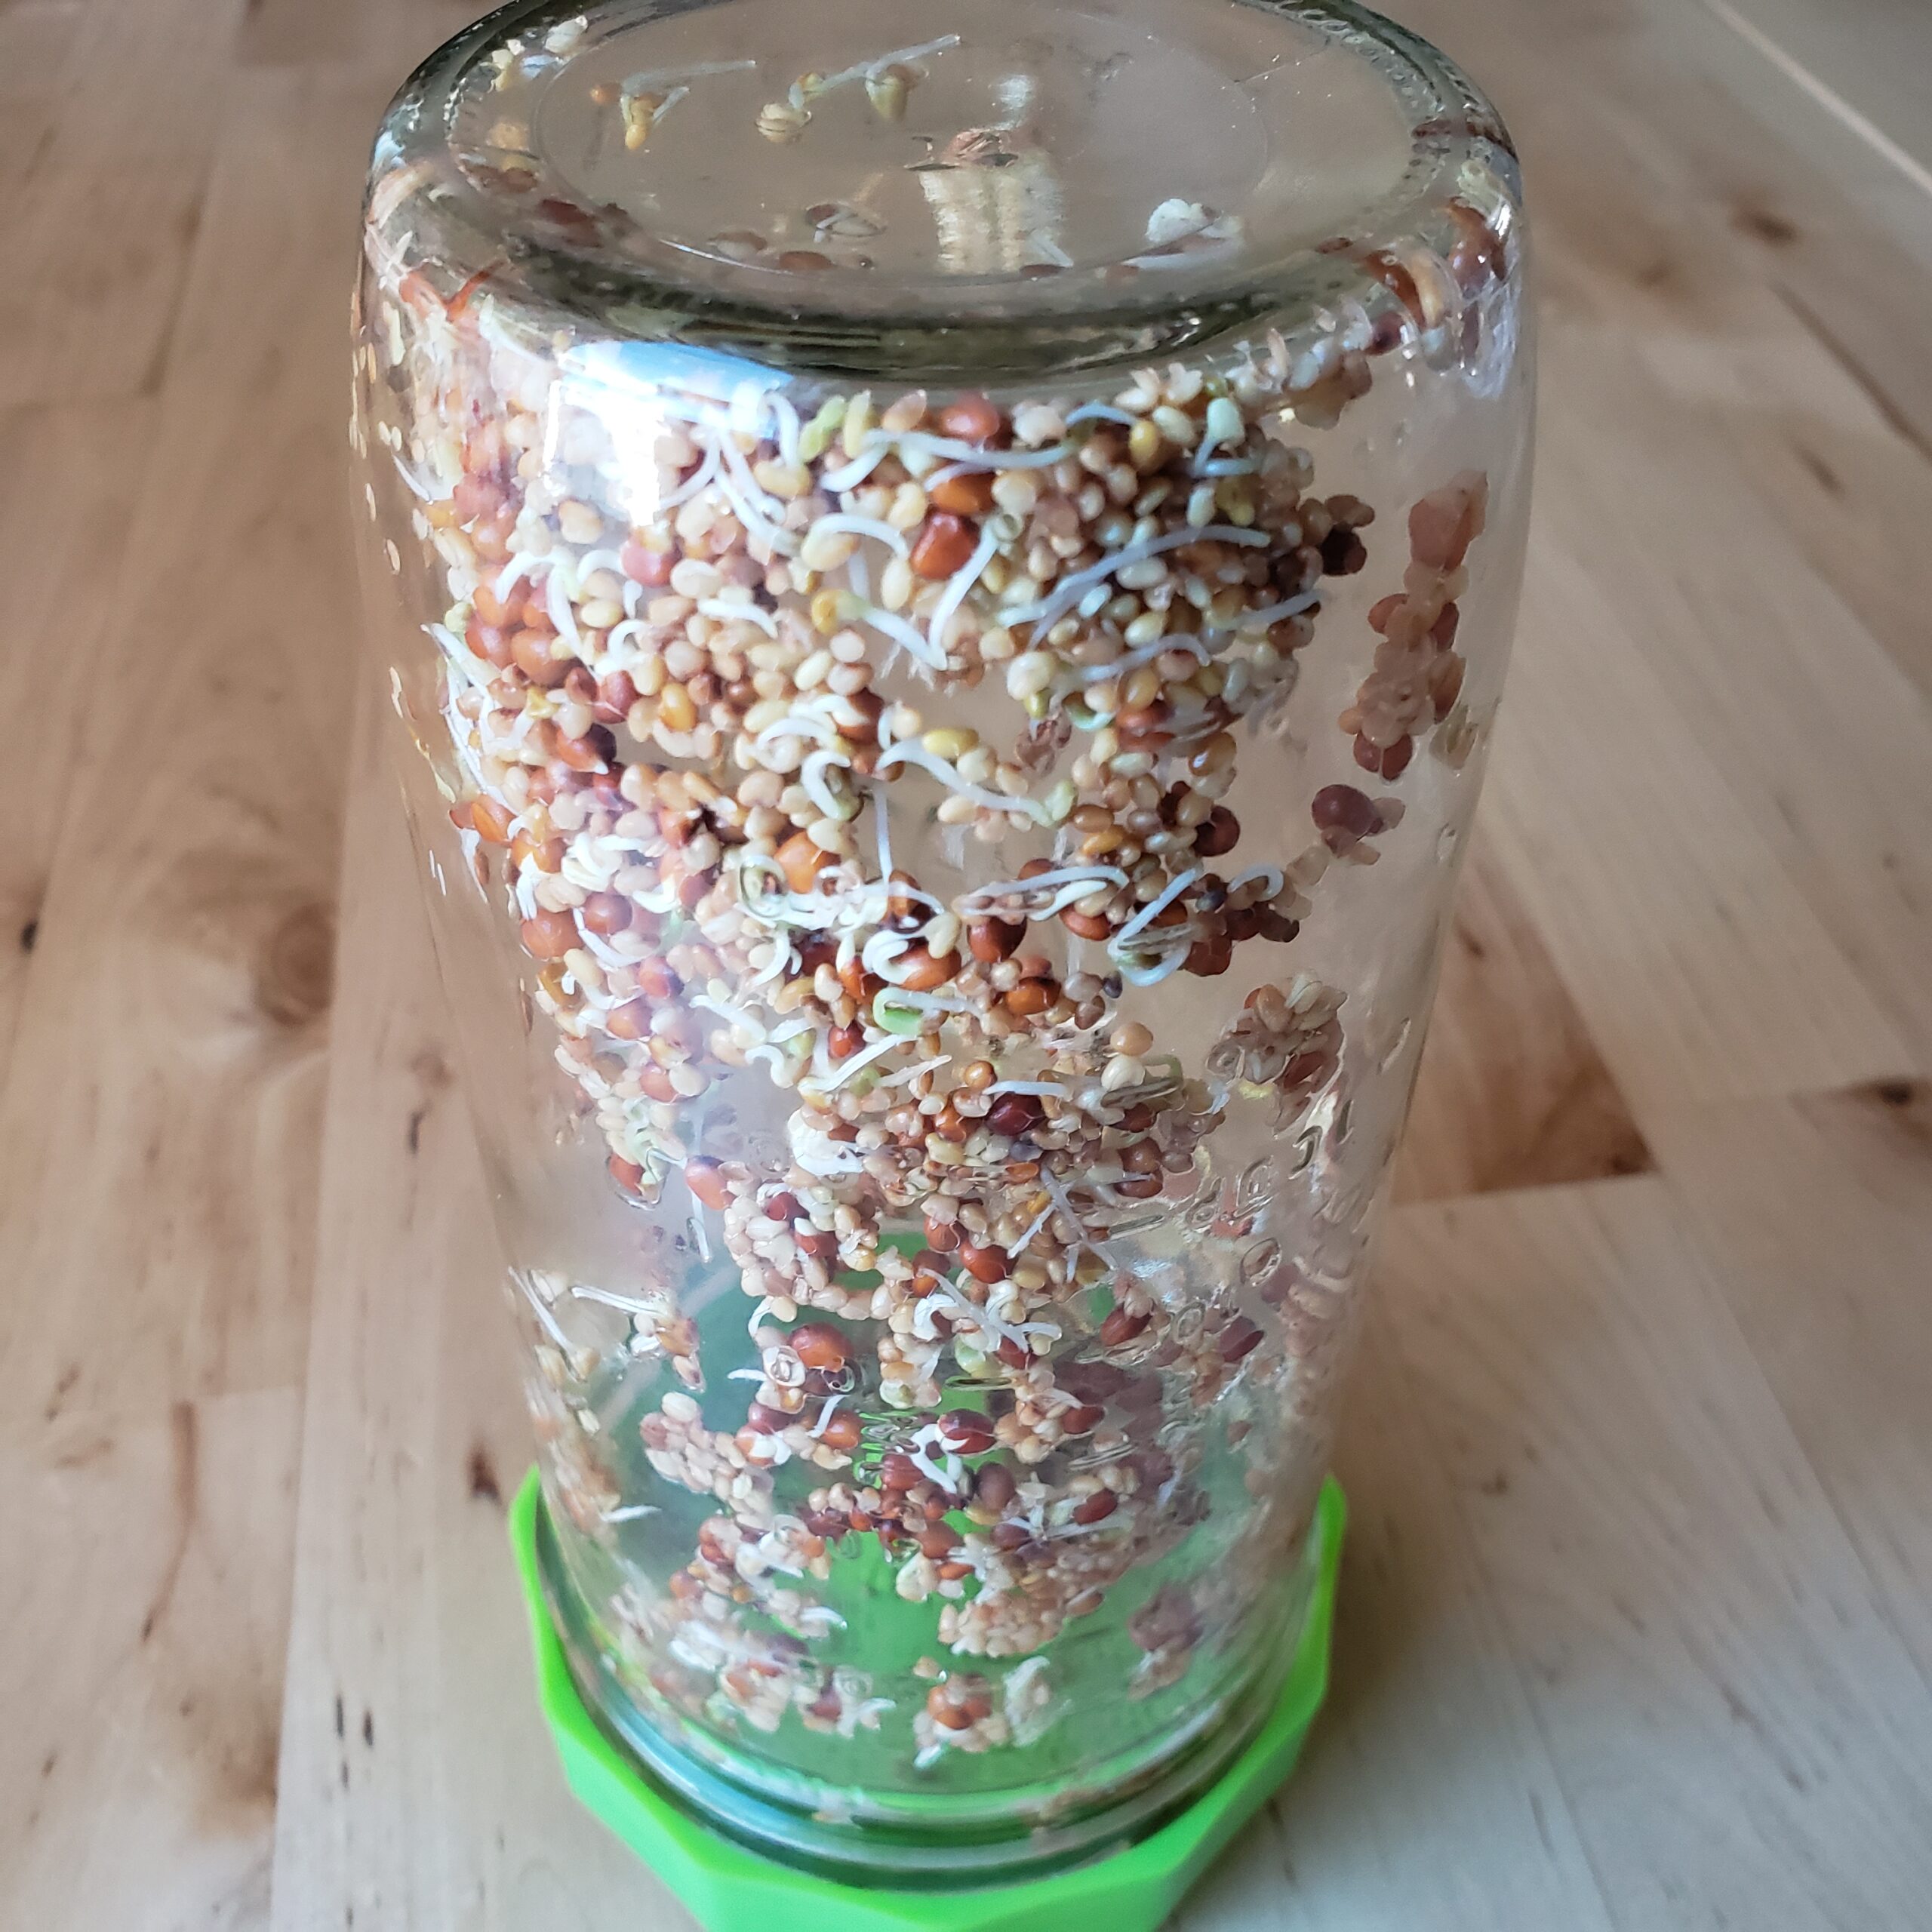
3. Rinse your seeds. Rinse with cool, fresh water 2-3 times a day, turning the jar each time after rinsing to spread the seeds.
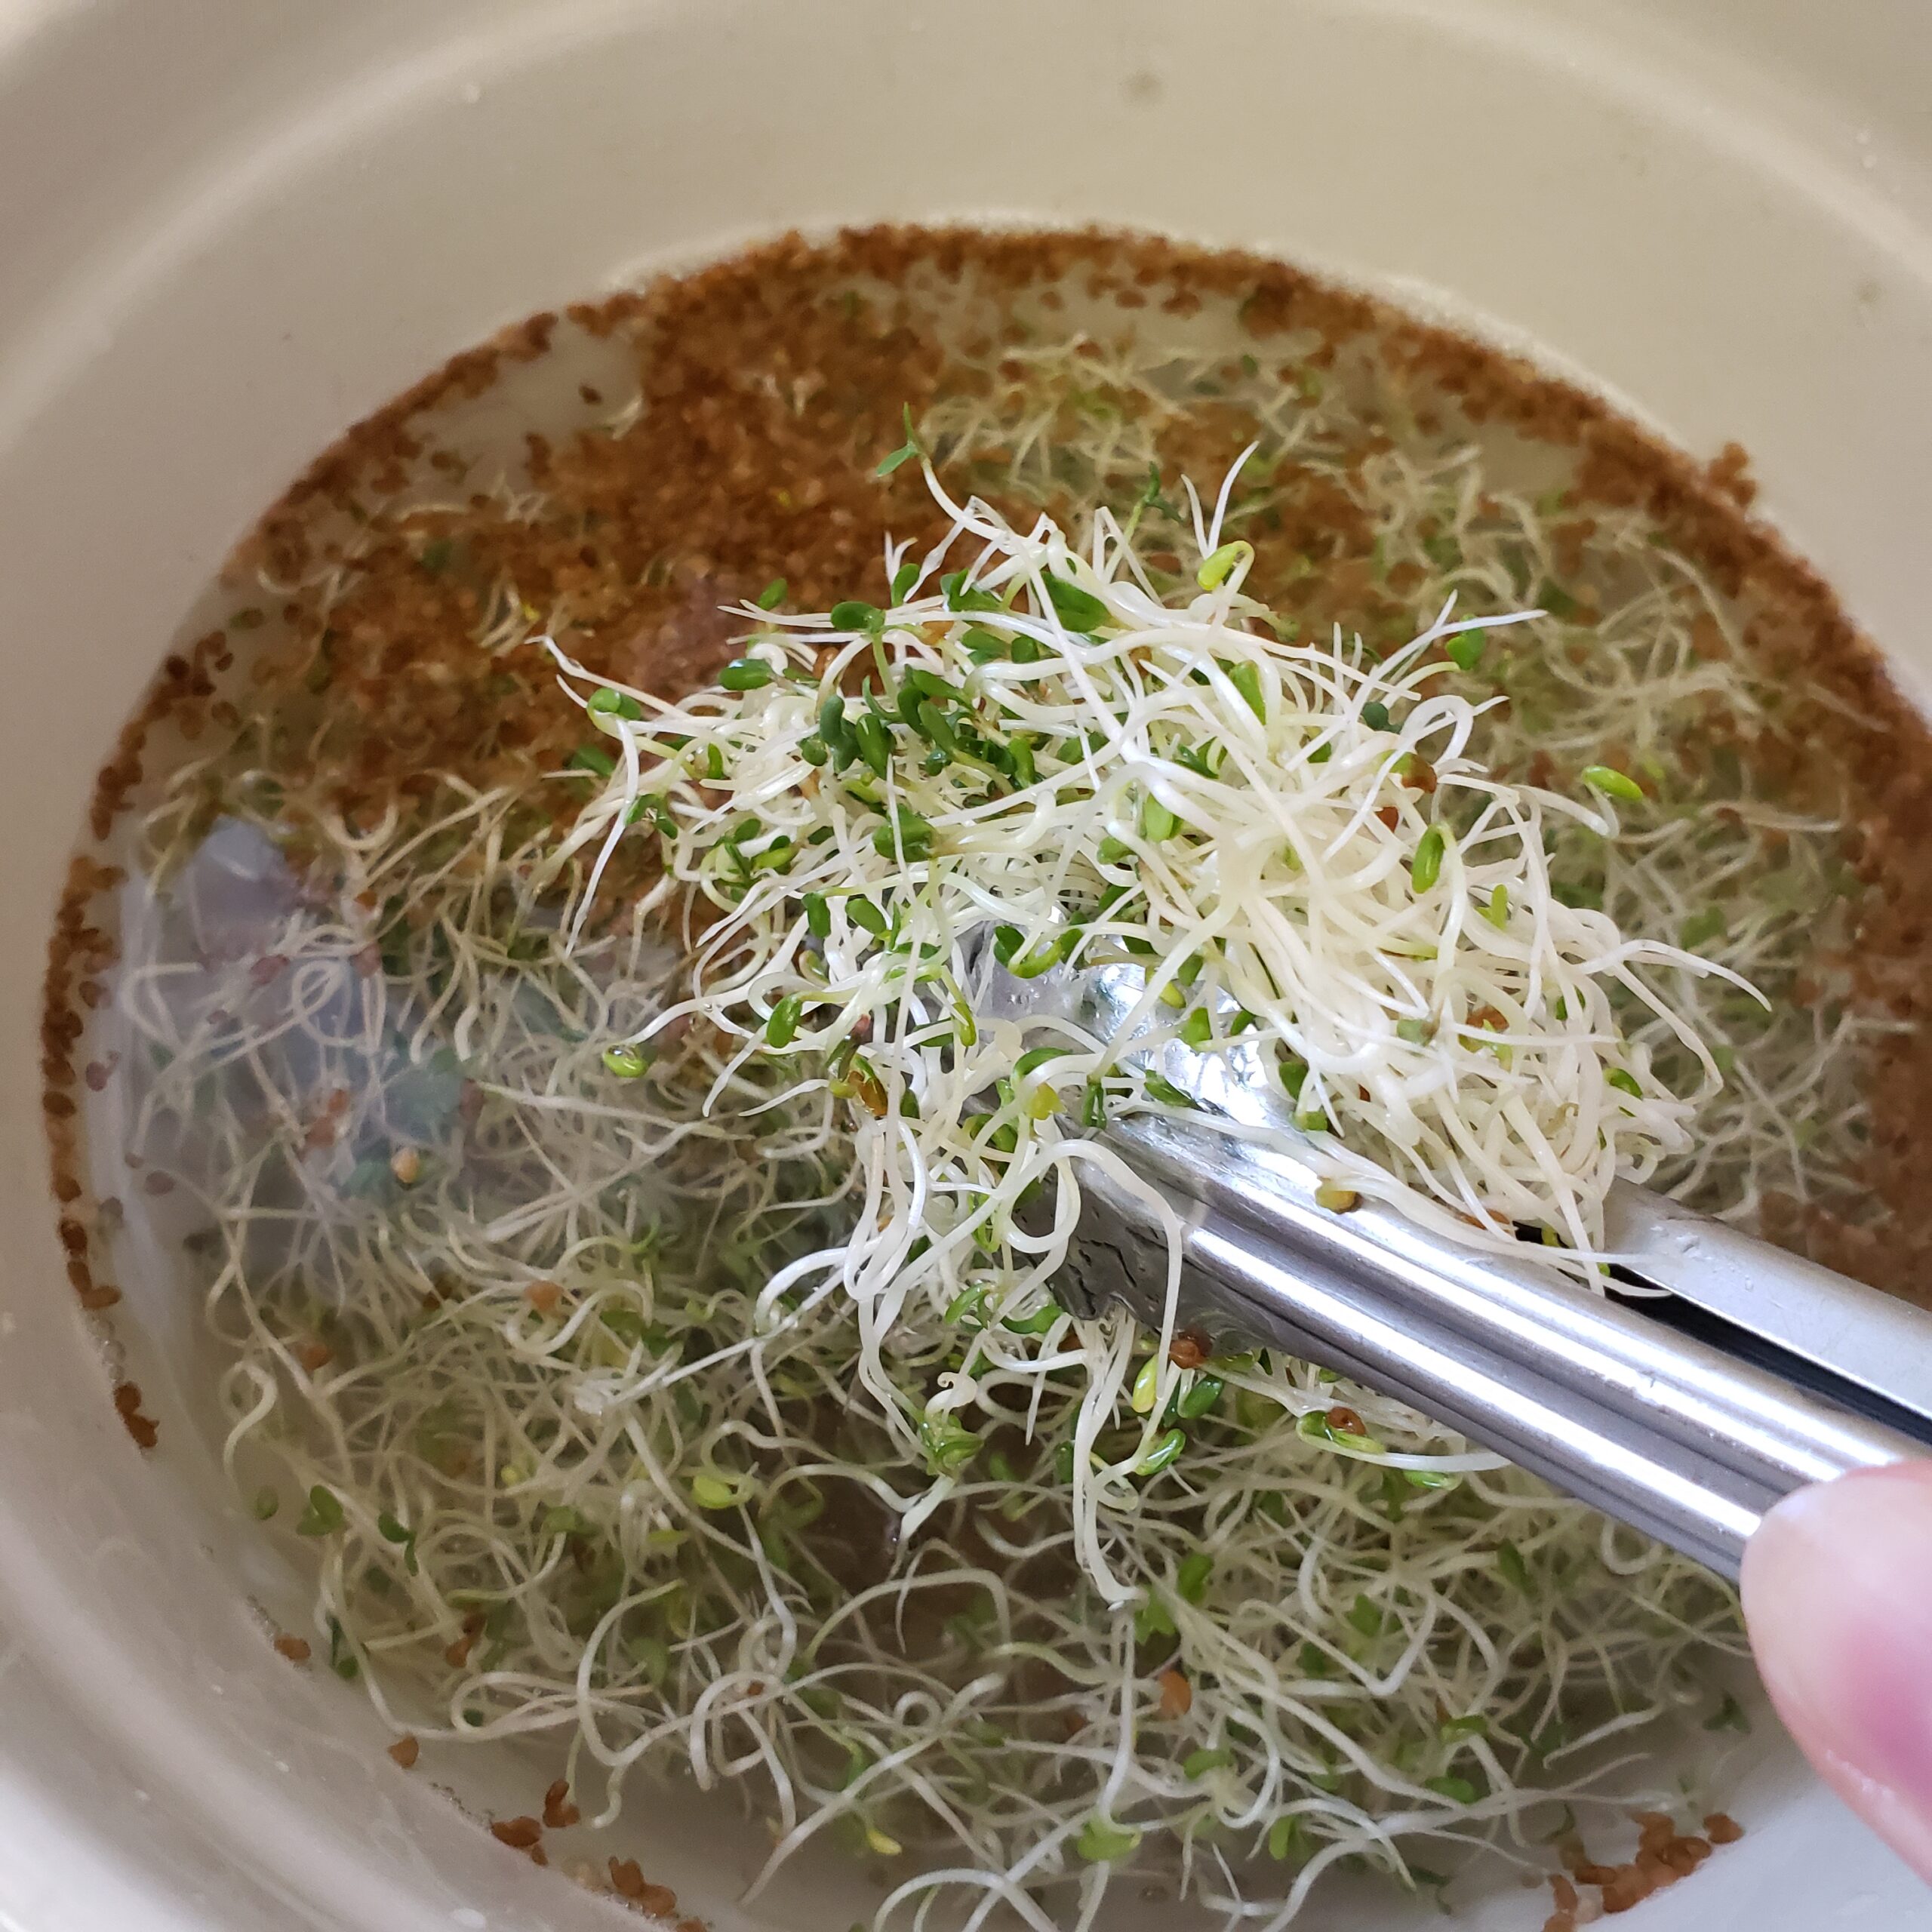
4. Harvest and clean. Pour sprouts into a bowl of clean water and skim hulls from the surface (optional). Pull out sprouts and gently shake excess water off and drain in a colander.
5. Green up the sprouts. Place sprouts back in a clean jar with a lid. Set in indirect sunlight to green them up during the day.
6. Eat and store. Sprouts will stay fresh for about a week in the fridge if you rinse with fresh water every couple of days.

